
Hey everyone!
It’s been a couple weeks since I’ve found the time to post but I’m happy to be back with a new tutorial!
I know I was originally posting my how to crochet photo tutorials and YouTube videos every weekend, but the last couple of weeks I’ve been sick, and I ended up losing my voice for awhile! Let me tell you, being sick while eight months pregnant is not for the weak. Thankfully I’m feeling much better now and back to setting up the nursery, making some last preparations for baby girl, and of course crocheting.
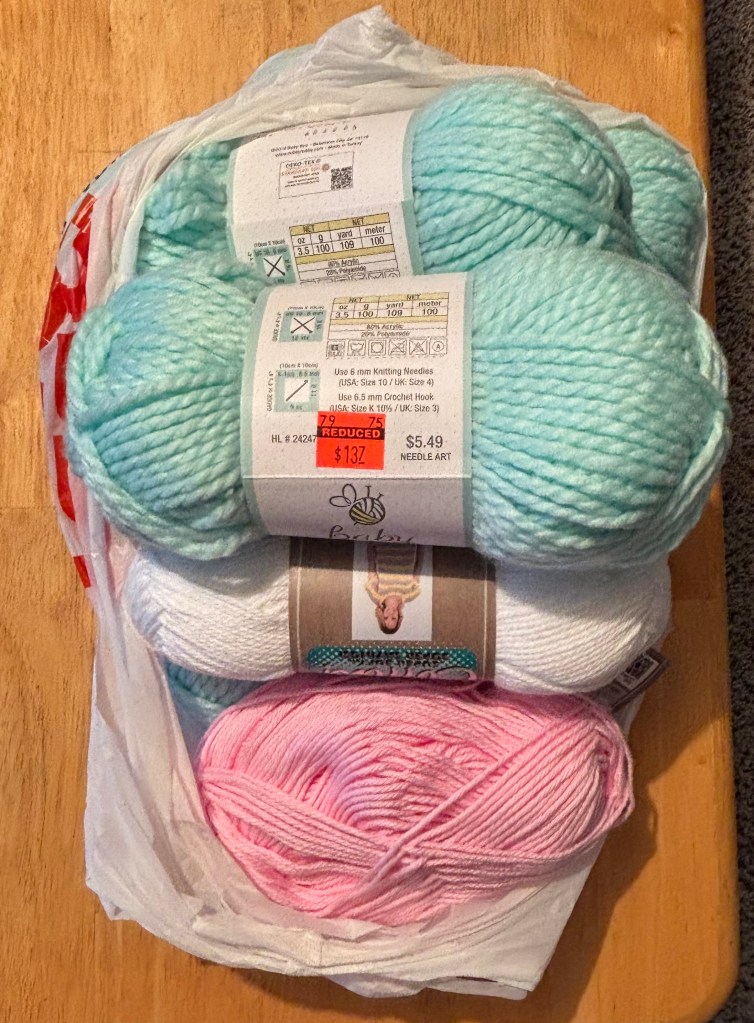
Last week I made a routine trip to Hobby Lobby to get more yarn for a project and ended up finding several skeins of this soft, chunky baby yarn on sale for $1.37 apiece. It was too good a deal to pass up so of course I bought it. The catch? It’s blue, and I’m having a girl. What could I possibly make for a baby girl with blue yarn?
The only idea I could come up with was a blanket, maybe using that blue as the background color for a graph, so away I went in my search for baby blanket inspiration. (You can see my progress so far on my Instagram!)
I ended up finding a graph I wanted to turn into a blanket and decided that the best way to do that was going to be C2C or corner to corner crochet. That inspired me to make a tutorial for this unique method of crocheting!
Corner to corner crochet is quite literally in the name: instead of working a piece from side to side or top to bottom like usual, you work it diagonally from one corner to the other. It’s great for making blankets, particularly graphghans (afghans using a chart or graph to create a design). It also works up really fast, especially if you’re using chunky yarn and working a pattern with a lot of color changes to keep you from getting bored. Another cool thing about C2C is that once you learn it, you can pretty much turn any graph you like into a blanket, no pattern needed! My go to place for finding free graphs and charts for blankets is Pinterest.
The method is simple: you start in one corner with just one block and continue adding a block to the each row until you reach the desired width for your square or rectangle, then you decrease by removing a block from each row until you reach your desired height. Pretty cool, right?
This post may contain affiliate links. As an Amazon Associate, I earn from qualifying purchases — at no extra cost to you.
So let’s get started!
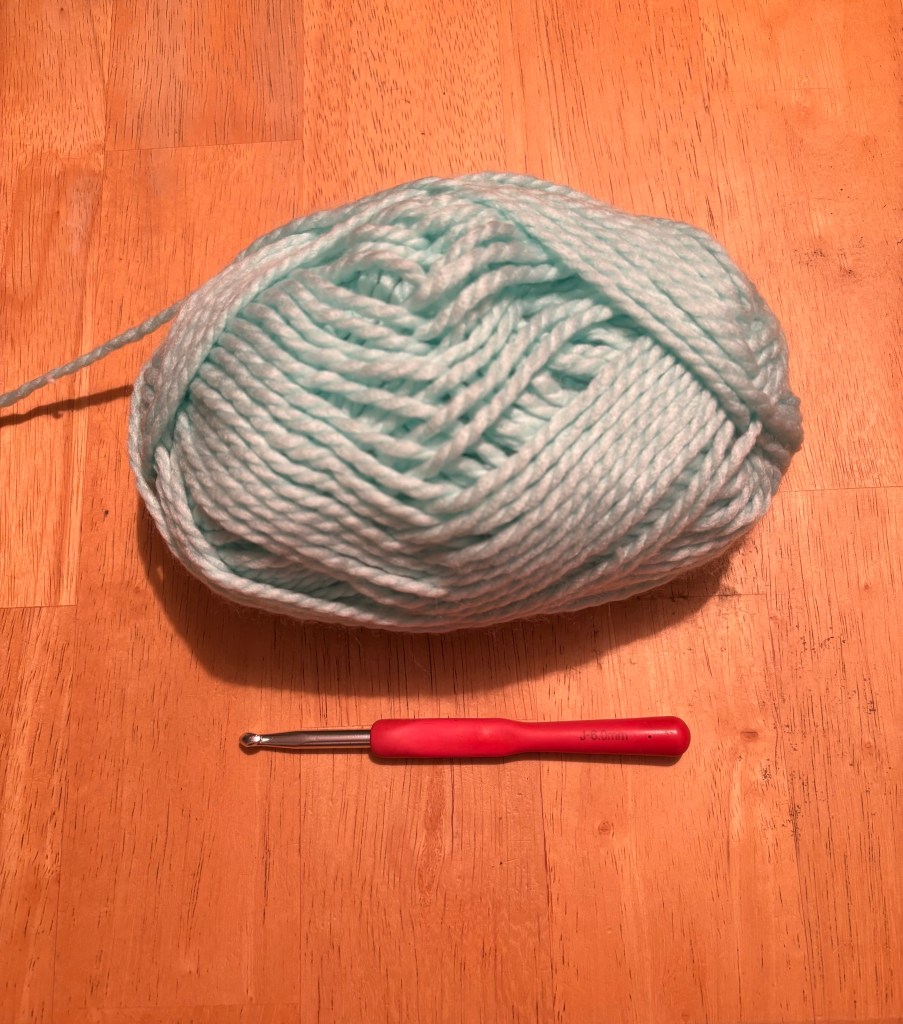
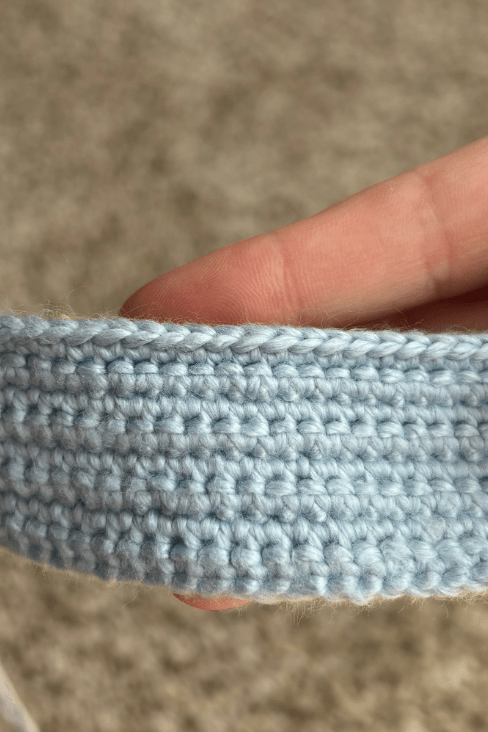
I prefer using chunky yarn and a larger hook size because I personally love the texture for blankets and because it works up much quicker, but feel free to use whatever is comfortable for you. Here I’m using Baby Bee Sweet Delight bulky (#5) weight yarn and an aluminum Boye J/6mm hook.
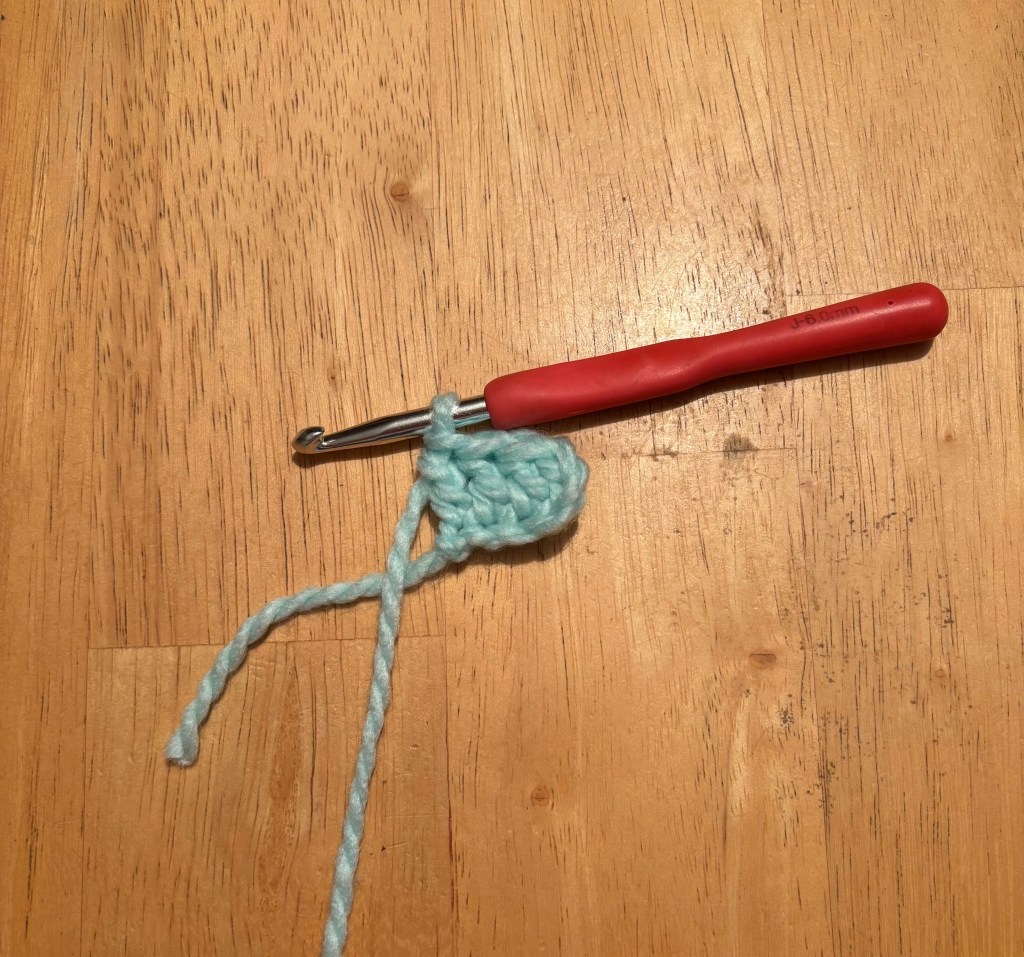
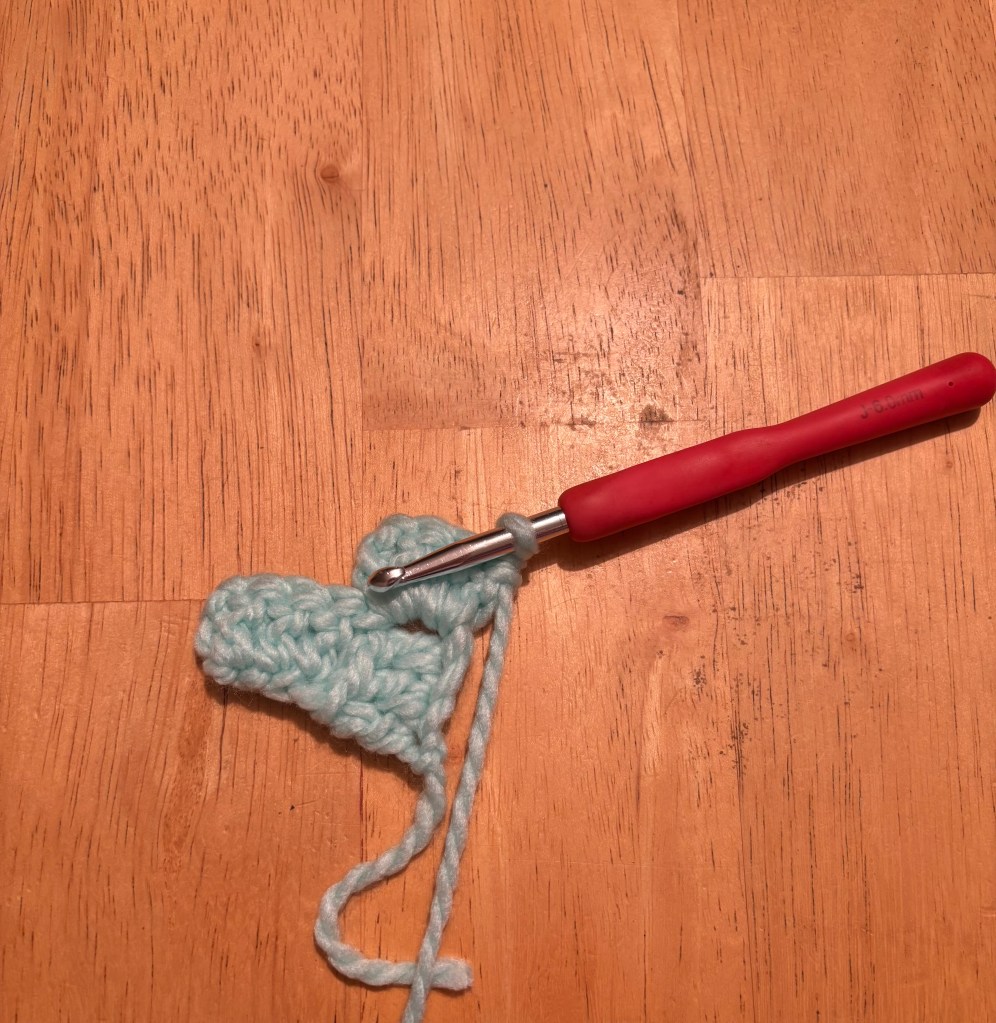
Start by making 6 chains. (If you haven’t learned the chain stitch yet or just want a refresher, I have a photo tutorial here and a video tutorial here.)

Now dc into the 4th ch from hook and into the next 2 ch. This is your first block.
You now need to turn your work over to the wrong side to begin the second row.

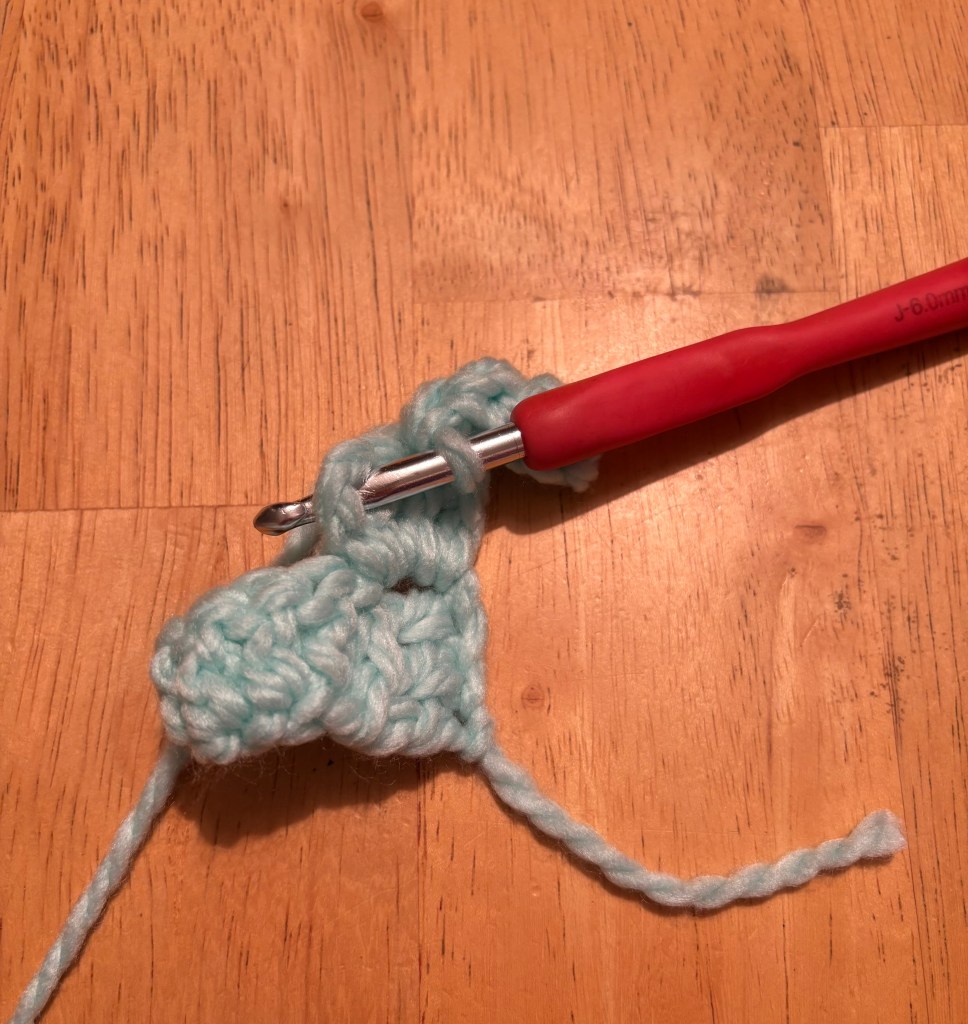
To start your second row, you’re going to increase by one block so you’ll have two blocks. Ch 6 again and dc into into the 4th ch from hook and into the next 2 ch. This is your second block.


Next you’re going to skip the next 3 dc on the first block and sl st underneath the 3 ch on that first block.


Now ch 3 and work 3 dc into that same space you just made a sl st.

And you’re done with the second row! Your work should look like this.

Turn your work again to begin the third row.
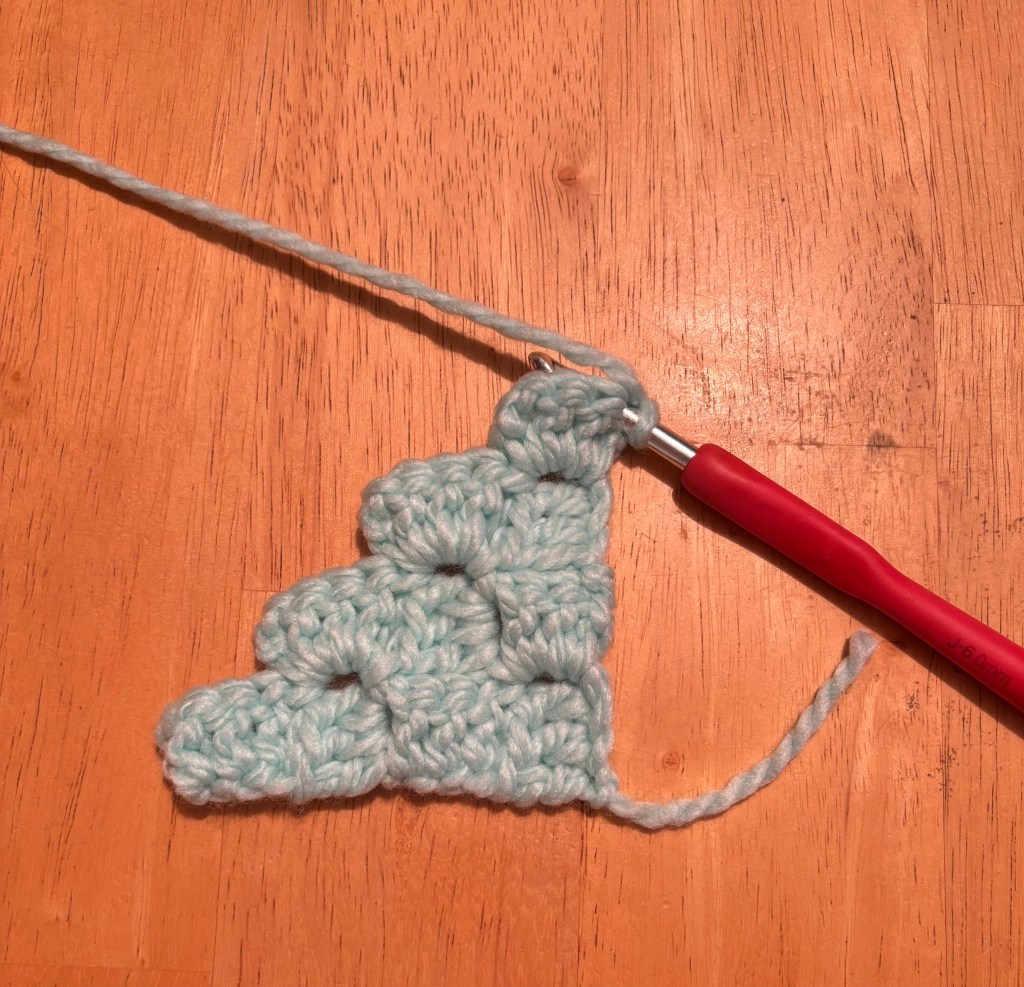
Once more, ch 6 and dc into the 4th ch from hook and into the next 2 ch.

Skip the 3 dc on the next block and sl st underneath the ch 3.
Ch 3 and work 3 dc into that same space.
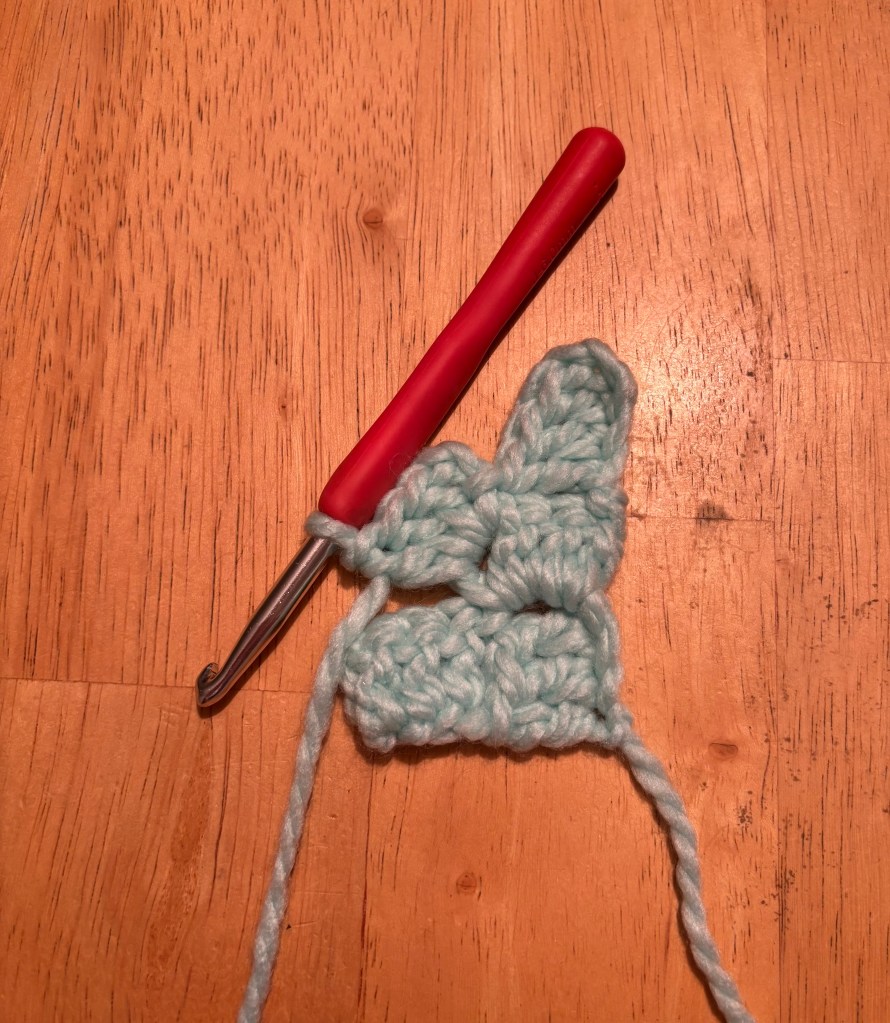
Skip the 3 dc on the last block and sl st underneath the ch 3.
Ch 3 and work 3 dc into that same space.
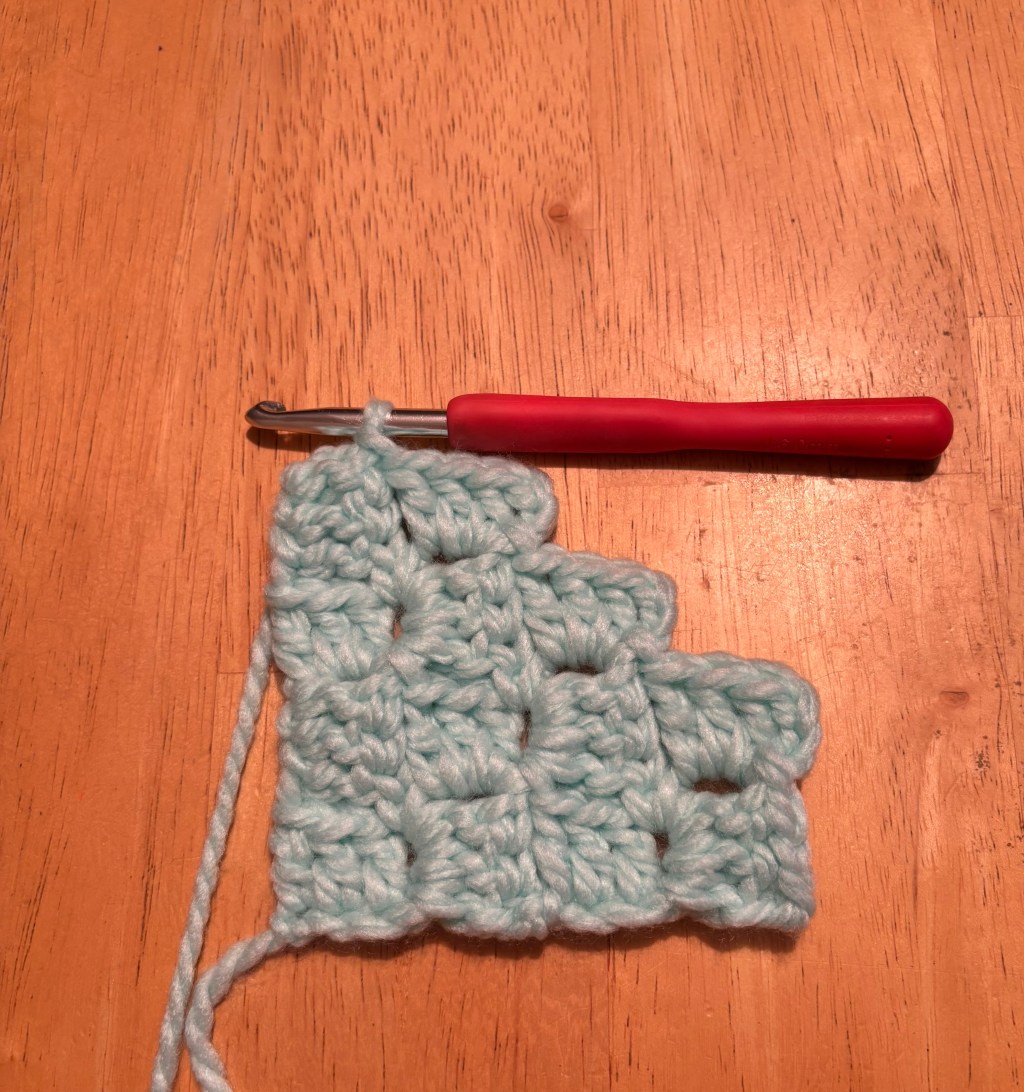
Row 3 is now complete!

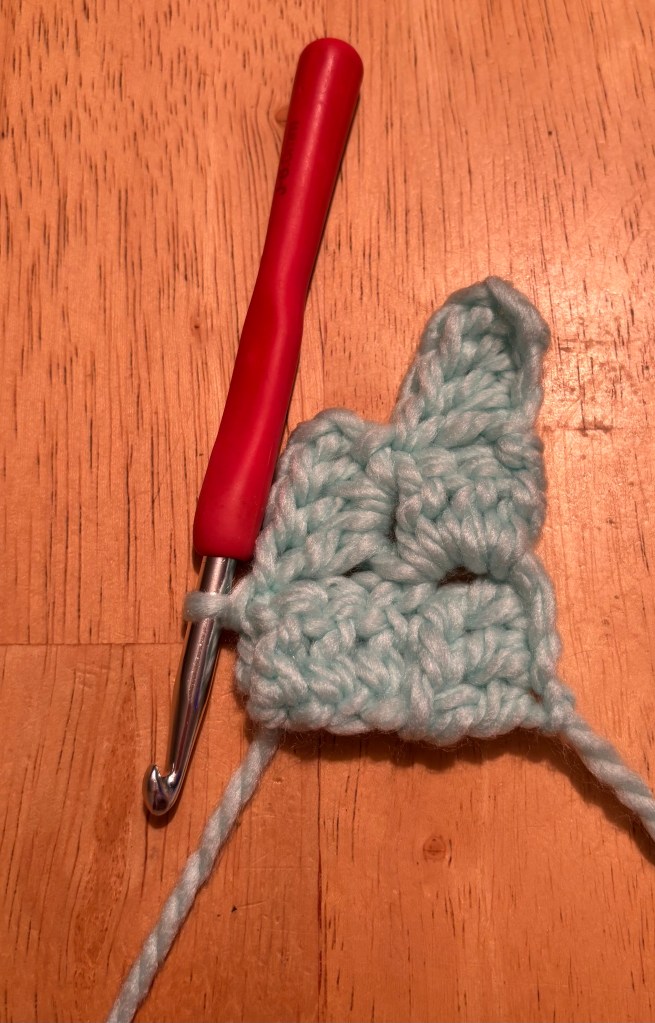
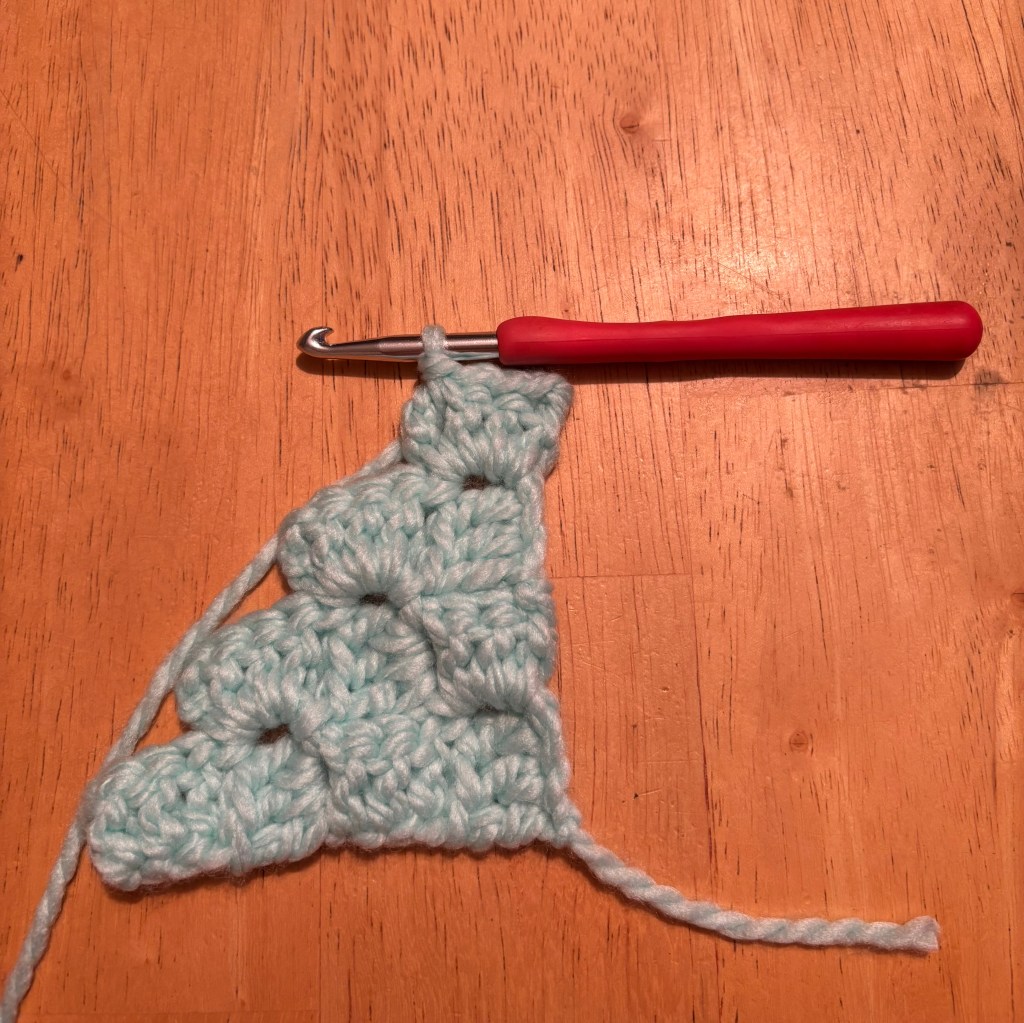
To continue increasing the width, you’ll just keep turning and adding rows in this manner, increasing by one block every row.
When you’re satisfied with the width, whether you’re making a square or rectangle, you’ll start decreasing your work by one block every row.
Here my work is currently 4 squares wide by 4 squares tall. If I wanted to make this into a 4×4 square, I would need to start decreasing at both sides.

Turn to start the next row, but instead of ch 6 and adding another square, you’re going to sl st into the first 3 dc of your first block and underneath that ch 3.

Now ch 3 and 3 dc into that same space. Continue the rest of the row as usual.
Stop when you get to the last block. (If you were making a rectangle, you would just complete the row as usual and add a block here, since you would still be adding to the height while your width remained the same. However, since I’m making a square, I need to decrease on both the width and the height.)
Sl st underneath the ch 3 of your last block.
Your row is now complete.

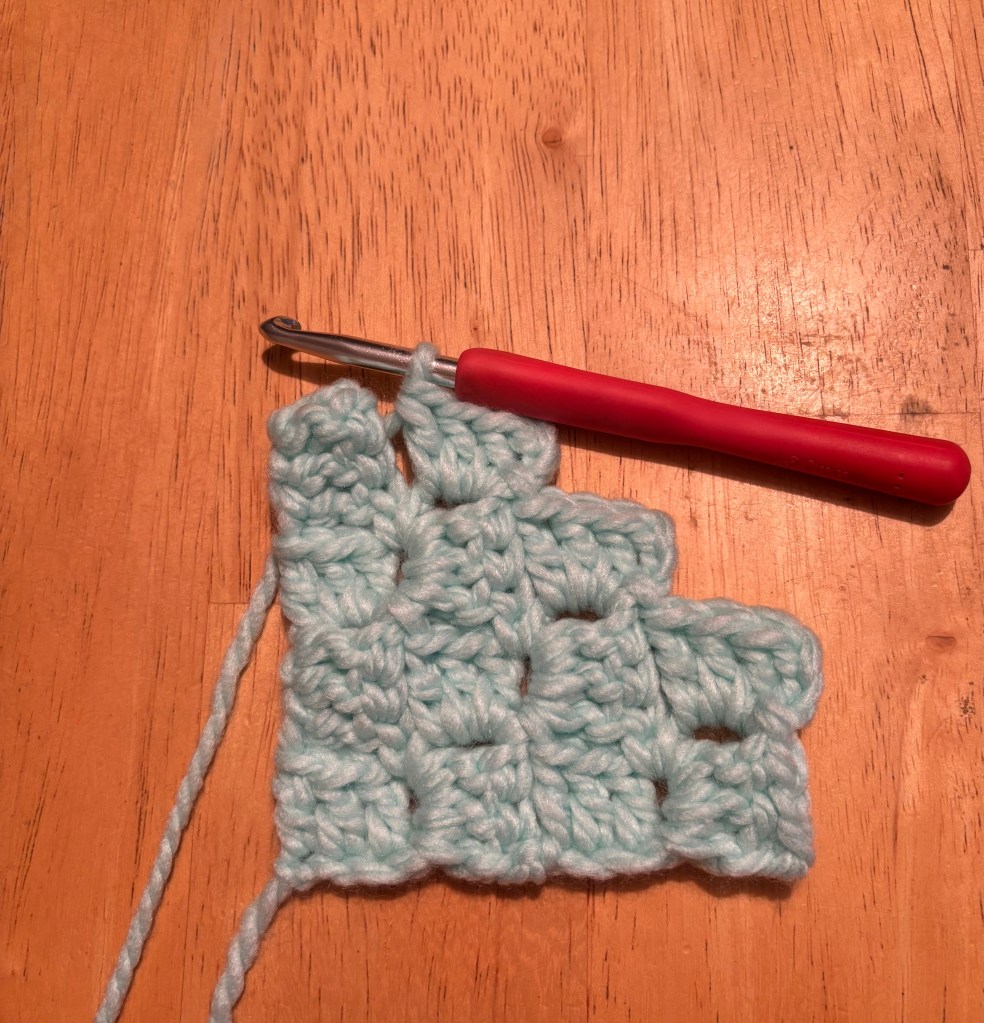
You should now have one block less than the last row. In my case I have 3 instead of 4. Turn your work to begin the next row.

Now sl st into the first 3 dc of your first block and underneath that ch 3.
Work this row the same as the last row: as usual until you reach the last block, then simply work a sl st underneath the ch 3.
When you get to the end, you should have one less block than the previous row. In my case I have 2.

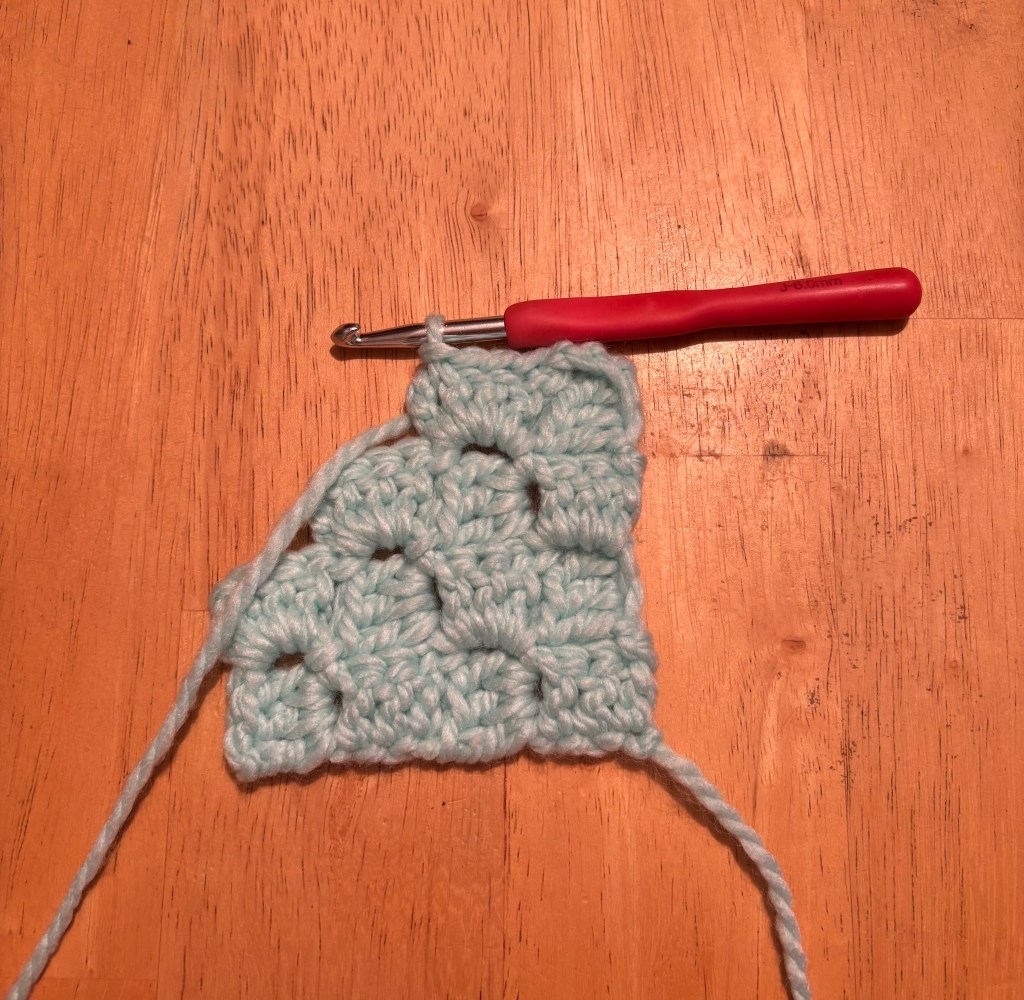
Turn your work and continue working each row in this manner until you have just one ch 3 remaining. This is your last row.
On your last row, sl st underneath the last ch 3 and fasten off.


Congratulations, you did it!!
That’s all there is to it.
If the shape of your work is a little loose or distorted, don’t worry! It takes a bit of practice to get your tension even on each block, and sometimes it just looks that way until you get to the end of a row then evens itself out on its own. I personally find that I have to tug on the sides of mine every now and then to get them uniform.
If you’re interested in learning to C2C crochet with colorwork and using graphs, keep an eye out as I will be posting tutorials for that soon!
Have you ever tried corner to corner crochet? Let me know in the comments!
I hope this tutorial was helpful to you. As always, feel free to ask a question or share your work with me in the comments.


Leave a reply to How to Read a Crochet Graph for Beginners: A Step-by Step Guide – Handmade by Micah Cancel reply