
Hey everyone!
I’ve been working on a lot of exciting new projects this week but it’s nice to finally slow down and focus on another episode in the How to Crochet series.
Last week we learned how to hold the yarn comfortably and make a slip knot and a chain stitch (if you missed last week’s tutorial you can find the photo tutorial post here and the video tutorial here). Hopefully you’ve been practicing those chain stitches!!
By now you should be comfortable enough to move onto the next crochet stitch: the single crochet.
The single crochet is one of the most basic, versatile crochet stitches. It creates a tight, dense fabric that’s essential for hats, garments, stuffed animals, dishcloths, and more. Fun fact: single crochet is the backbone of virtually every amigurumi pattern because the firm stitches keep the stuffing from showing through.
This photo tutorial is meant to guide you step by step through the process, but the video tutorial is up on my YouTube channel if you’d like further explanation.
This post may contain affiliate links. As an Amazon Associate, I earn from qualifying purchases — at no extra cost to you.
All right, let’s get into it!
Today we’re just keeping it simple and learning the single crochet stitch–nothing more, nothing less.
What you’ll need to get started:
- A crochet hook. An H/5mm hook is the best size to use at first because it’s not too big and not too small. If you want to read more about choosing the right hook and yarn check out my post, but if you just want the short answer then use an H/5mm hook!
- Yarn. Choose a worsted weight yarn (check out my post about hooks and yarns for a breakdown of the different yarn types) in a light color so your stitches are easy to see. Soft and fuzzy yarns are typically a little more difficult to work with so stick to a regular acrylic or cotton yarn until you’re more comfortable with crocheting.
- Scissors. You’ll need to cut the yarn when you’re finished!
- Sewing needle. This is really optional but if you’re wanting to weave in your yarn ends when you’re finished then you’ll need to use a needle to do so.
Ready to learn the single crochet stitch?
Grab your yarn and hook and let’s get started. Watch the video tutorial and follow along with the step by step instructions here.

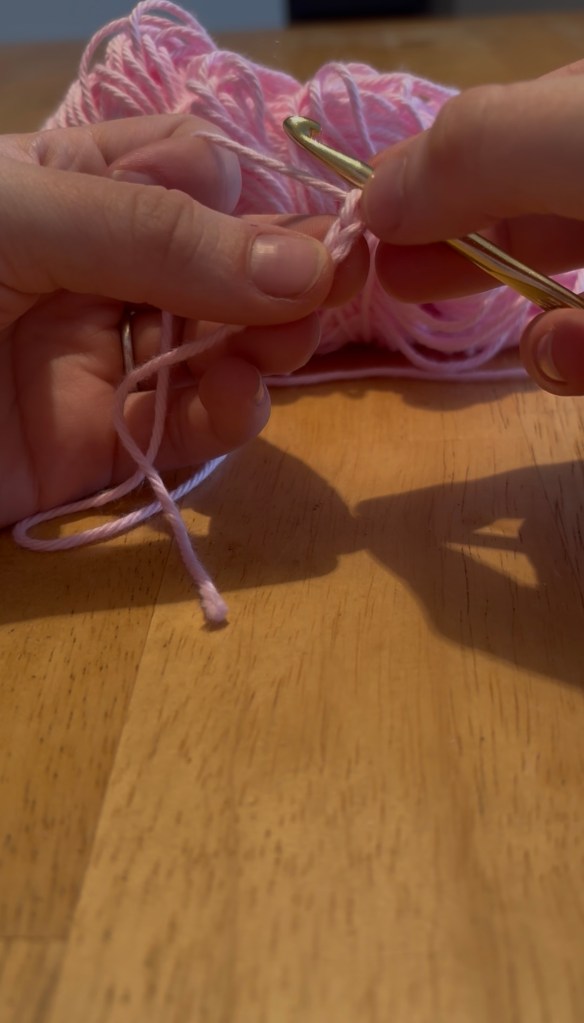
I’m using an aluminum Boye H/5mm crochet hook and I Love This Cotton light pink worsted weight cotton yarn. We’ll start by making a slip knot and 5 chain stitches.
Every crochet stitch except for the chain stitch needs a foundation to get it started unless you’re crocheting in the round (I’ll be making a post and a video on that eventually). In this case the 5 chain stitches are going to be the foundation for our single crochet stitches.
If you need a little help with holding your yarn check out last week’s tutorial.

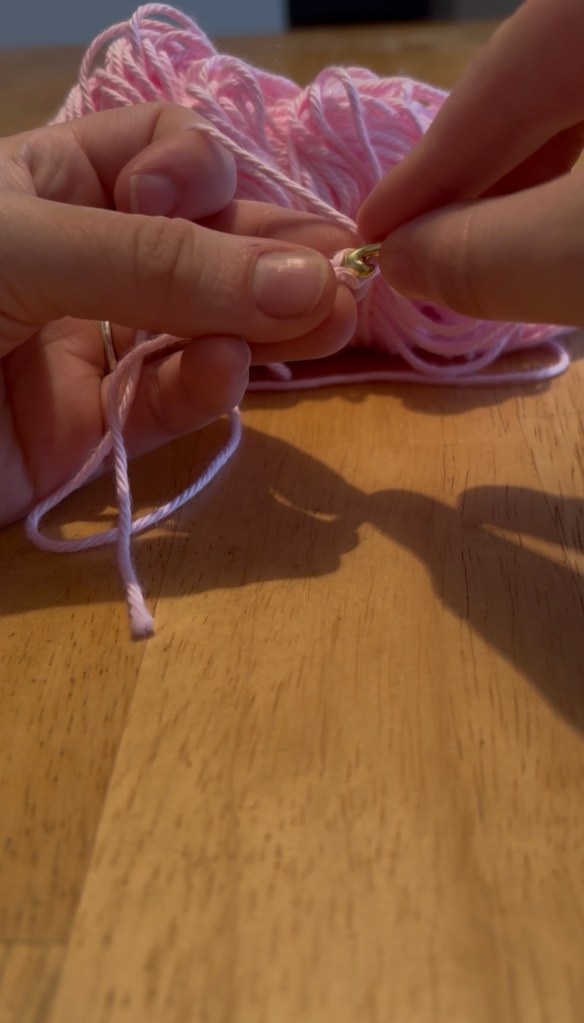
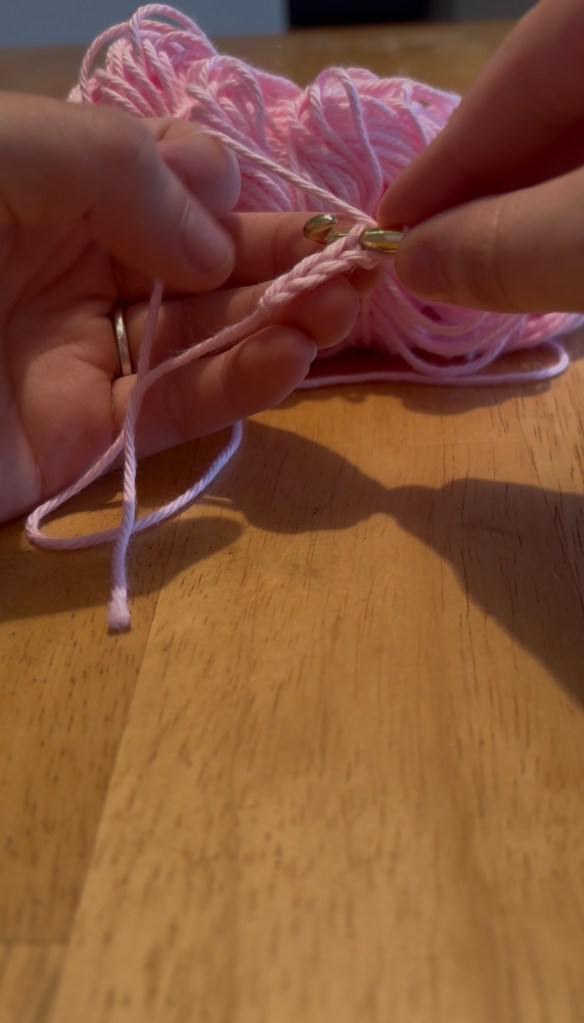
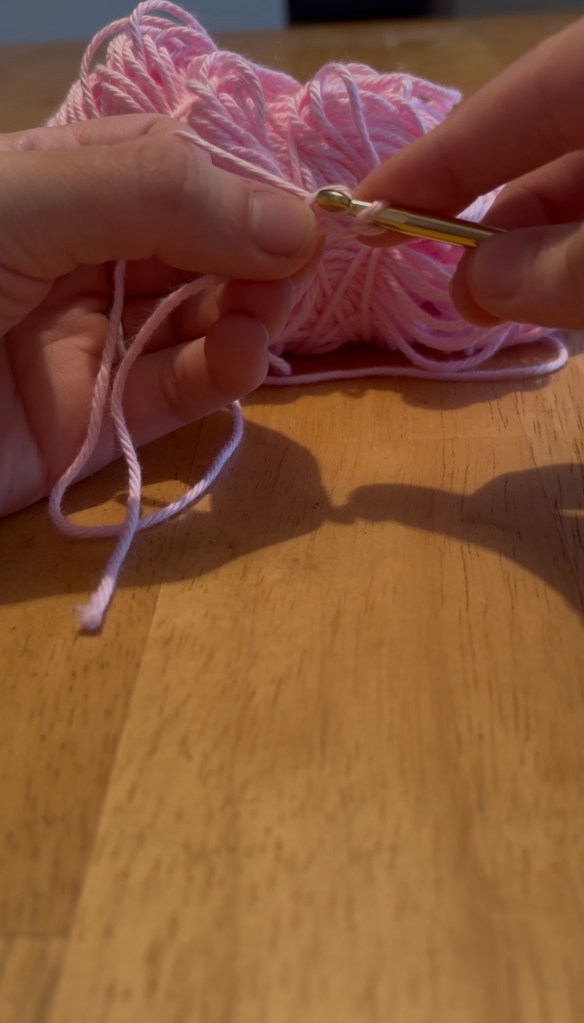
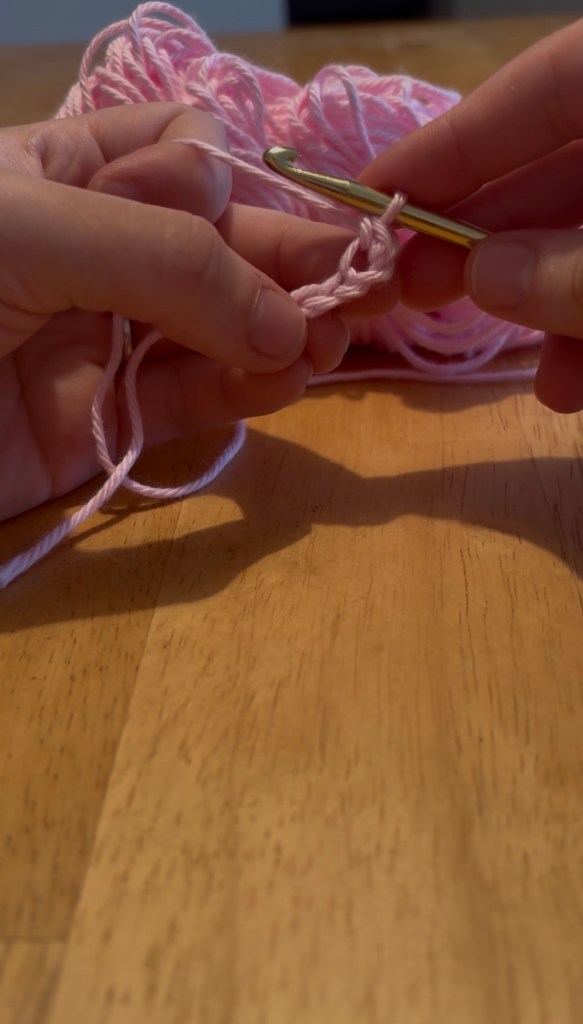
Skip the first chain (the loop my right thumb is touching) and begin in the second chain from your hook.
Insert your hook under the top loop of that chain stitch.
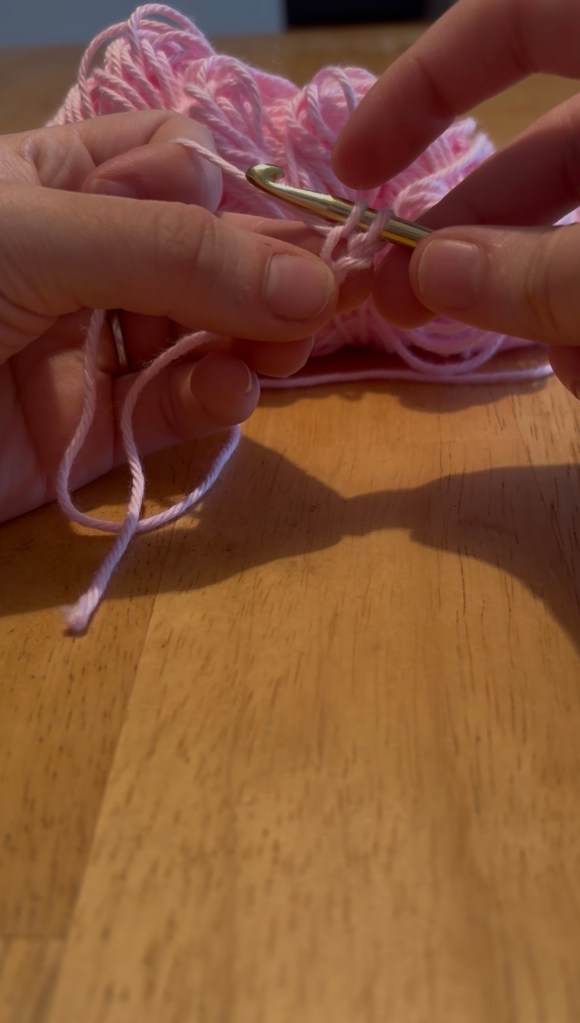
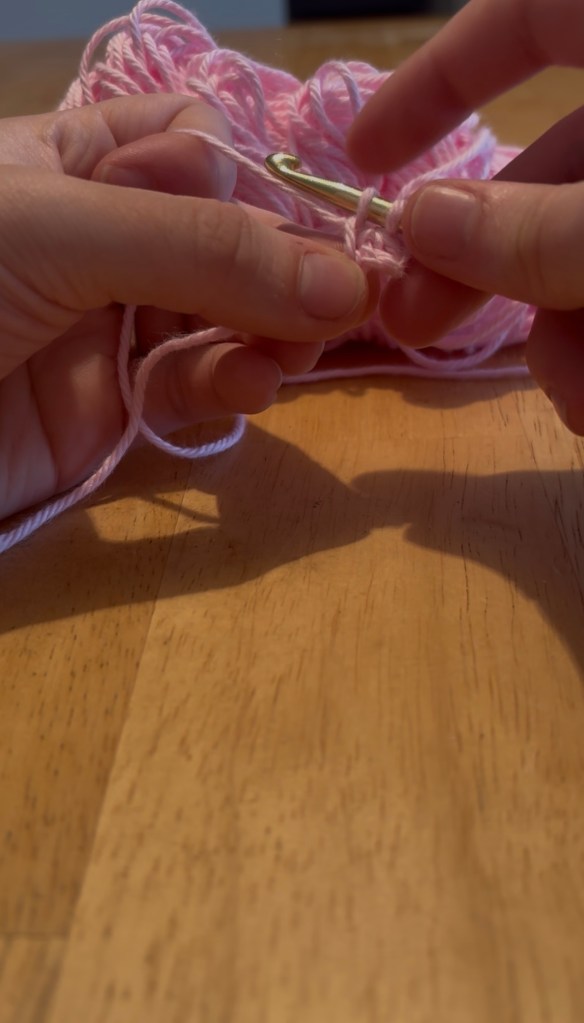
Now you’re going to do a yarn over.

Pull the yarn through that top loop only, making sure to keep holding onto your chains with your right middle finger and thumb.
You should have two loops on your hook.
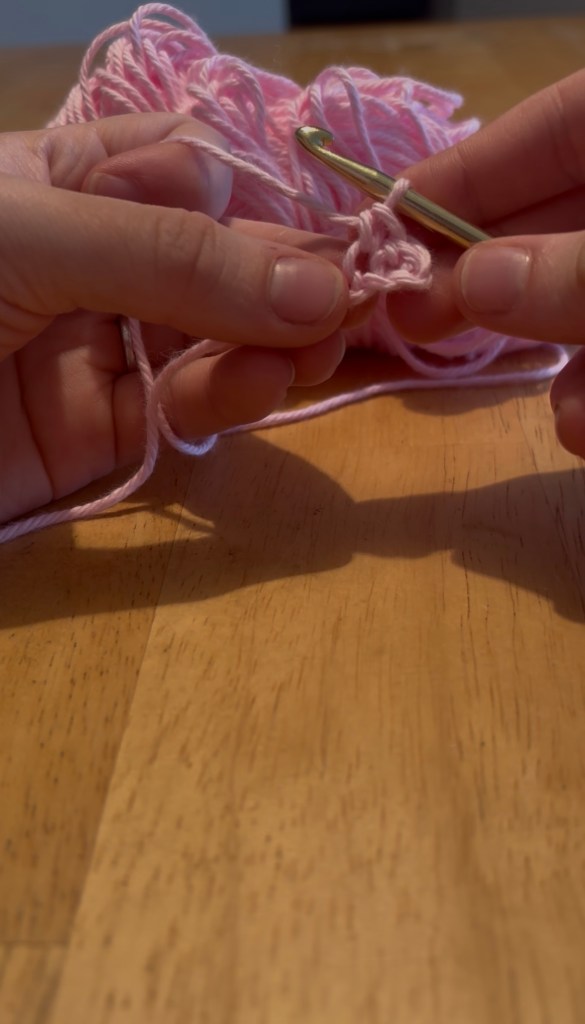
Yarn over one more time.
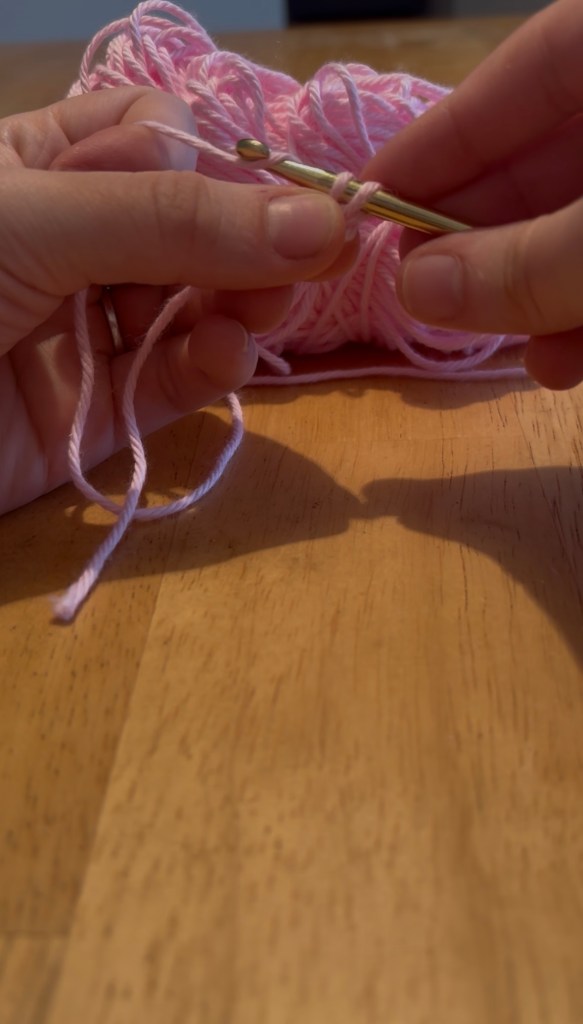
Pull through the last two loops on your hook. You should now have just one loop on your hook.
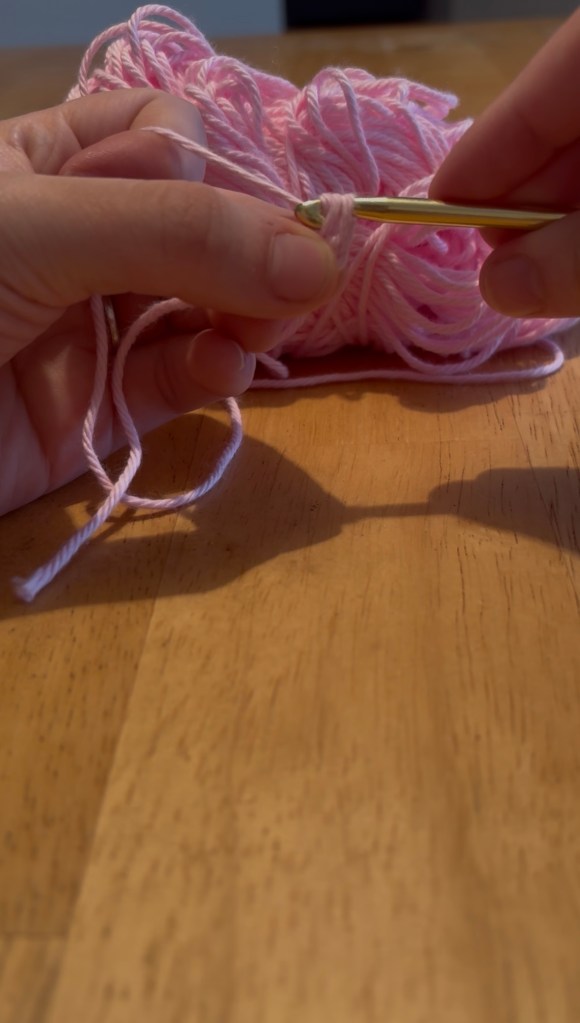
Congratulations! You’ve completed your first single crochet stitch.
Let’s do another.
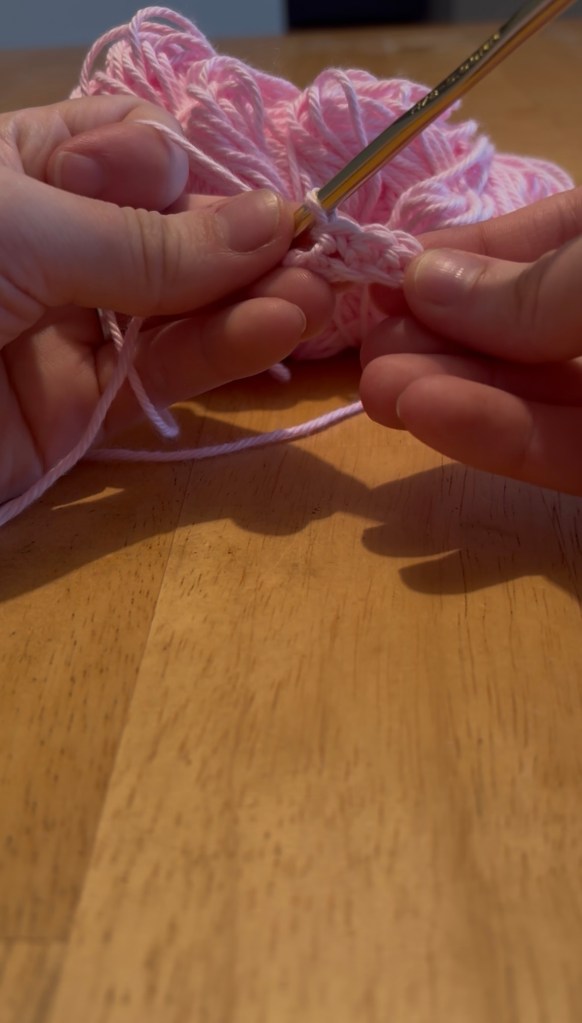
You’re going to skip over the chain stitch that you just worked a single crochet in (see the little gap?) and move to the next empty chain.

Insert your hook into the next chain and yarn over.


First pull through one loop on your hook.
Now yarn over again and pull through the last two loops on your hook.

And that’s all there is to it!
Keep making single crochet stitches, one in each empty chain stitch, until you run out of chain stitches.
If your stitches are a little bumpy or some are smaller while others are bigger, don’t worry! Your stitches will eventually even out once you get your tension down.
Remember, practice makes perfect! Keep practicing managing your tension and making single crochet stitches so you’ll be ready to learn the double crochet in lesson 3 next week.
I’d love to see your work, so feel free to share your progress in the comments, or tag me on Instagram @handmade.by.micah . If you have any questions drop them in the comments. I’m always happy to help!
Stay tuned for lesson 3 and happy crocheting!


Leave a reply to How to Crochet for Beginners: Triple Crochet Tutorial – Handmade by Micah Cancel reply