

Hey everyone!
I’m finally back! I know it’s taken much longer than I promised but I’m so happy to (finally) announce the launch of my first long-in-the-making crochet tutorial video.
Between moving into a new apartment and preparing for baby girl to arrive in September, life has been crazy busy lately to say the least. I really haven’t had the time (or a quiet space) to work on my videos, patterns, or inventory. But now that I have a workspace and a bit more free time I’m super excited to get back into the swing of things.
Welcome to the first lesson in my How to Crochet series! This photo tutorial is meant to guide you step by step through the process, but the video tutorial is up on my YouTube channel if you’d like further explanation.
All right, let’s get to it!
Today we’re going over the basics: holding your hook and yarn comfortably, making a slip knot, and making a chain stitch. This will get you well on your way to mastering any basic crochet stitches.
What you’ll need to get started
- A crochet hook. An H/5mm hook is the best size to use at first because it’s not too big and not too small. If you want to read more about choosing the right hook and yarn check out my post, but if you just want the short answer then use an H/5mm hook!
- Yarn. Choose a worsted weight yarn (check out my post about hooks and yarns for a breakdown of the different yarn types) in a light color so your stitches are easy to see. Soft and fuzzy yarns are typically a little more difficult to work with so stick to a regular acrylic or cotton yarn until you’re more comfortable with crocheting.
- Scissors. You’ll need to cut the yarn when you’re finished!
- Sewing needle. This is really optional but if you’re wanting to weave in your yarn ends when you’re finished then you’ll need to use a needle to do so.
Ready to learn how to crochet?
Grab your yarn and hook and let’s get started. Watch the video tutorial and follow along with the step by step instructions here.
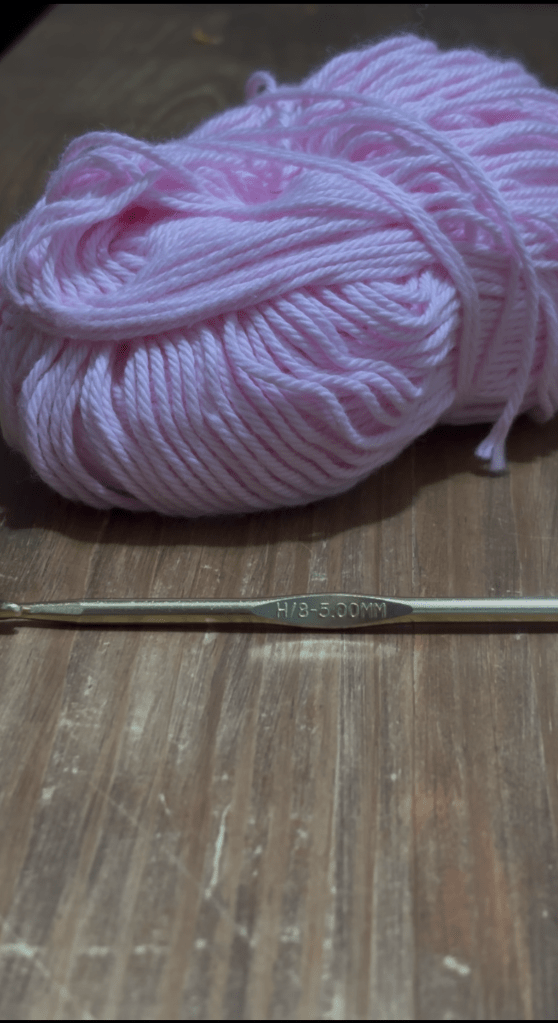
I’m using an aluminum Boye H/5mm crochet hook and I Love This Cotton light pink worsted weight cotton yarn. We’ll start by making a slip knot.
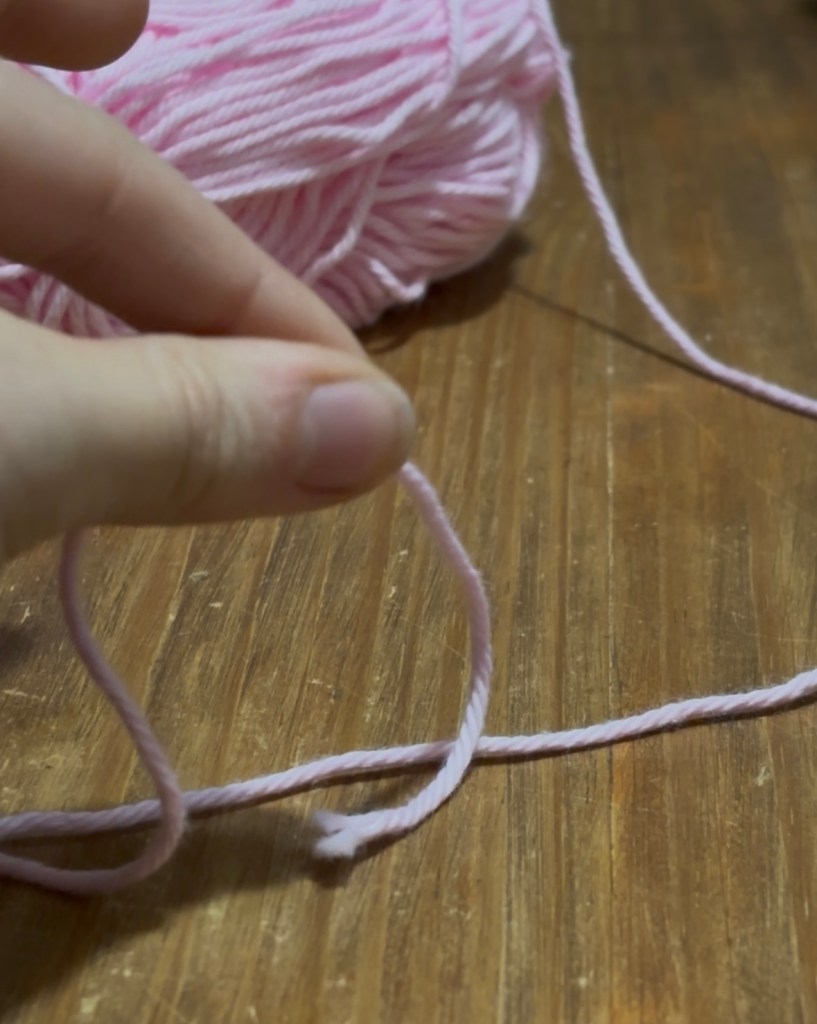
Hold it in your right hand.
Pinching the short end between your right thumb and pinky finger, use your left hand to wrap the long end of the yarn around the other three fingers of your right hand.
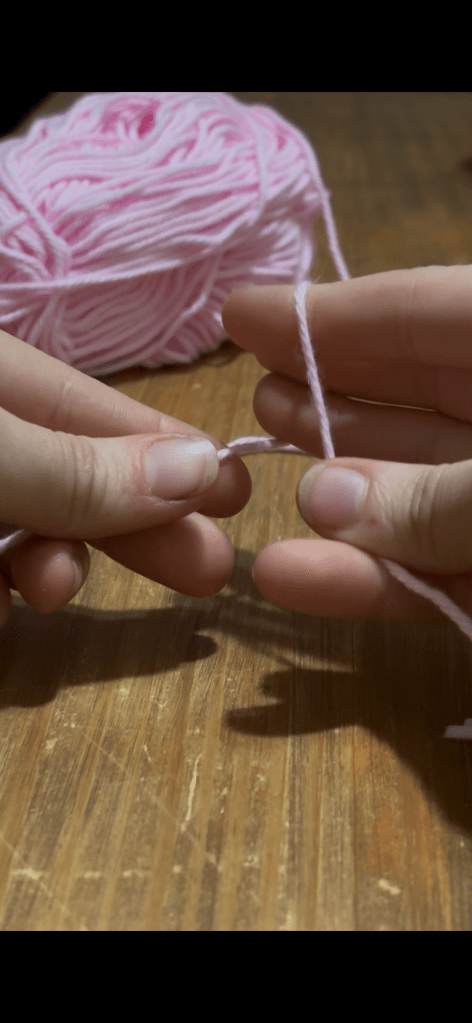
Pinch this loop you just made with your left thumb and index finger.
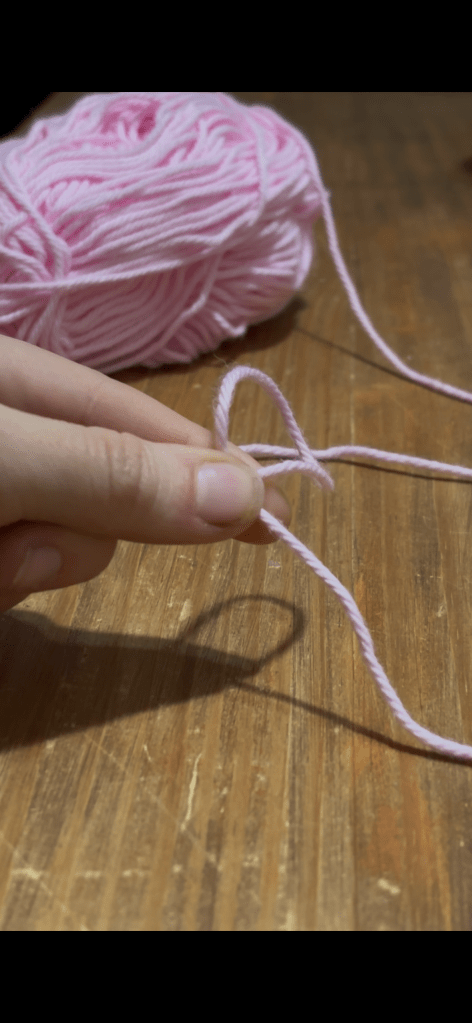
Now remove your right hand from the loop. You should still be holding this little loop with your left thumb and index finger.
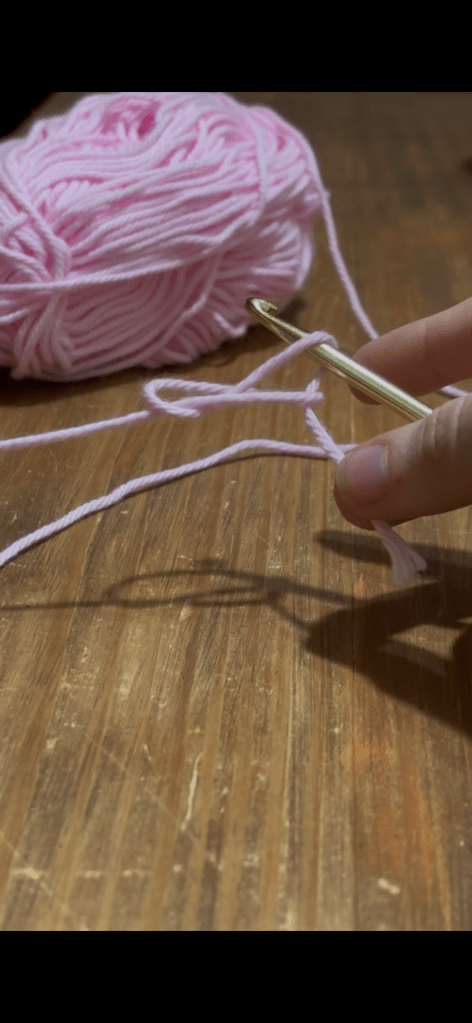
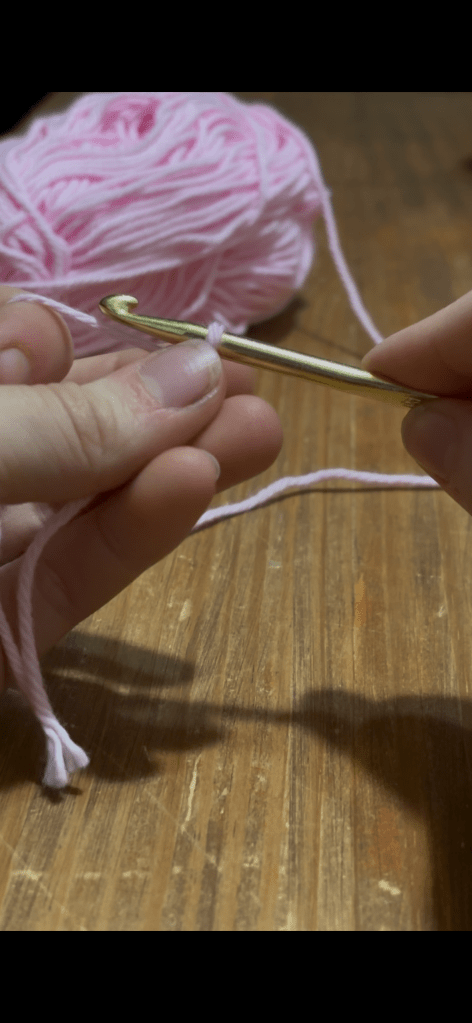
Now grab your crochet hook with your right hand.
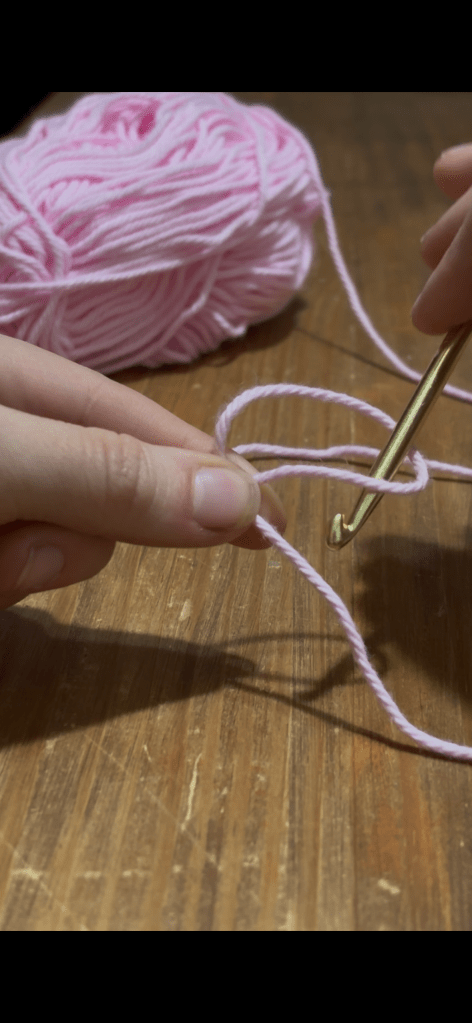
Insert your hook downwards through the loop, catch the short end of the yarn, and start to pull your hook up through the loop.
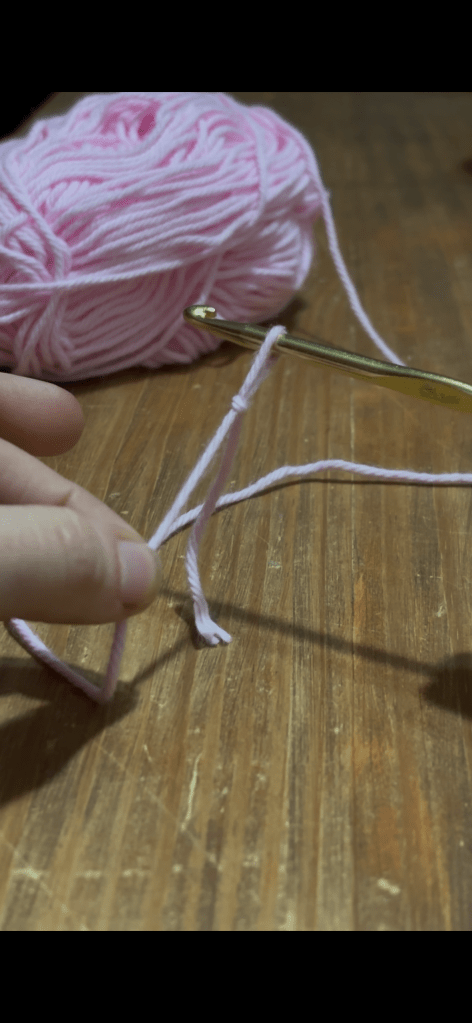
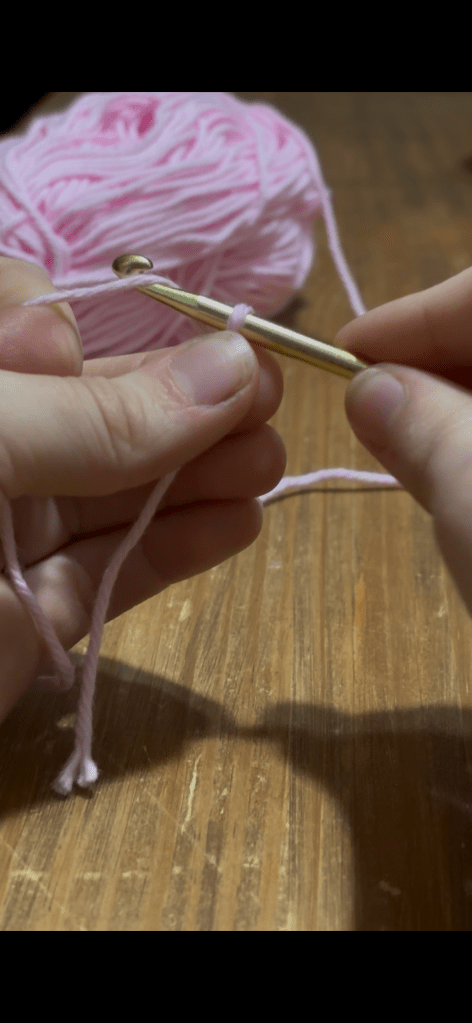
While keeping a firm grip on the short end, slowly pull the long end to close the loop.
Now pull the long end snug to finish adjusting the loop.
And you’ve made your first slip knot, good job!

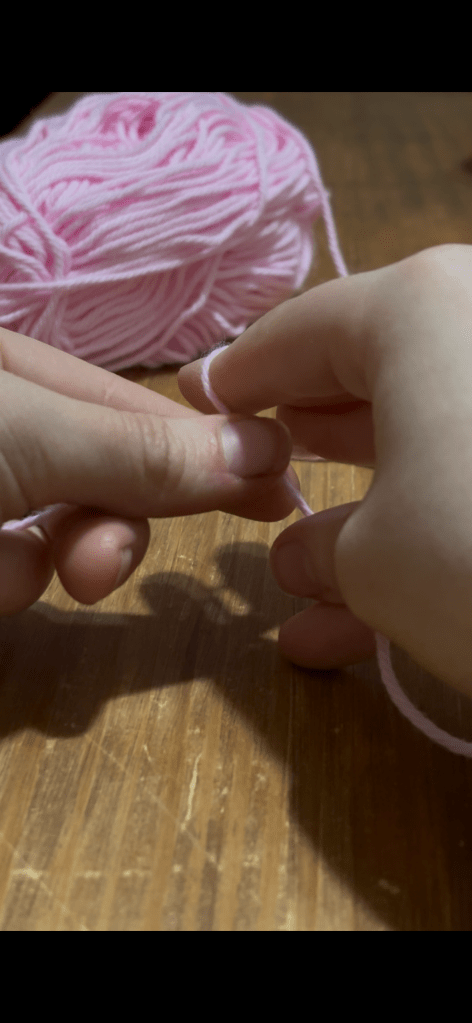
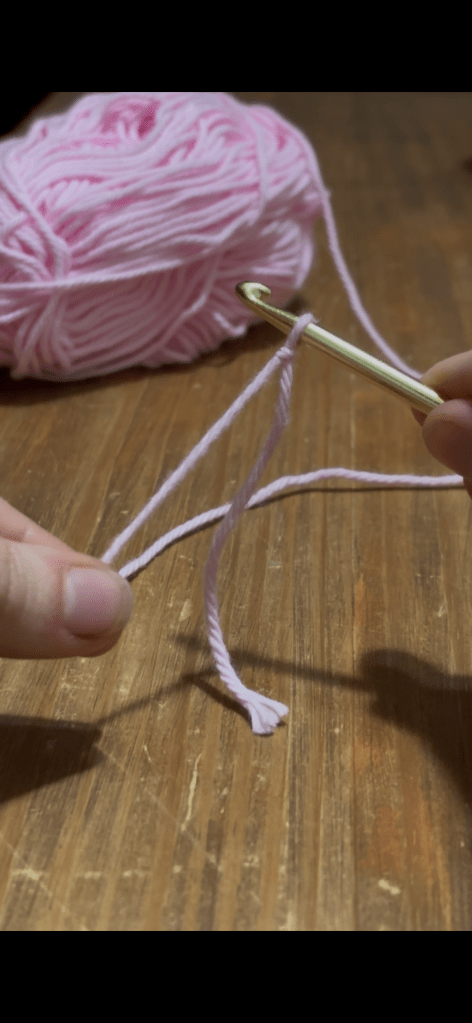
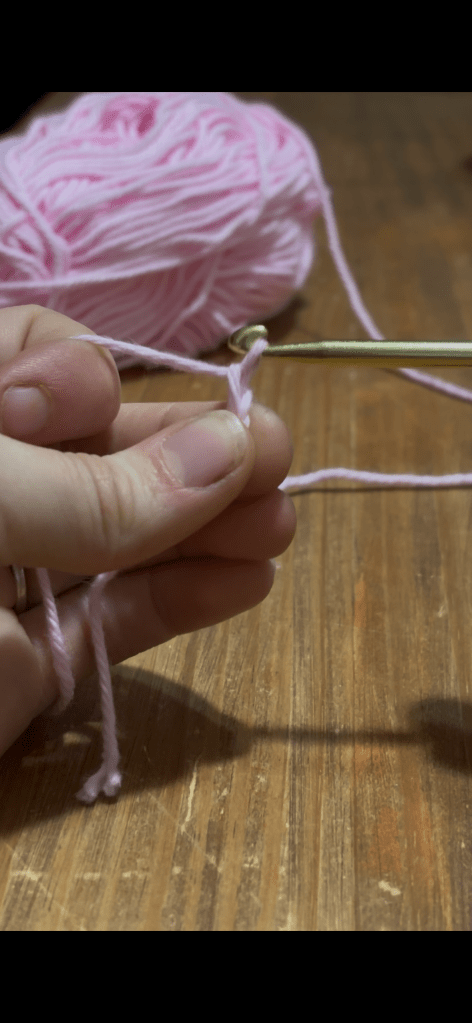
Now to talk about tension! Lots of people hold their yarn in different ways but this is what’s most comfortable to me: with your left hand, grip the long end of the yarn (also called the working yarn) with your curled index finger and grip just under your loop on the little knot you made with your thumb and middle finger.
Use your right hand to hold the hook lightly.
The key is to not hold the yarn too loose or too tight. You want to make controlled stitches.
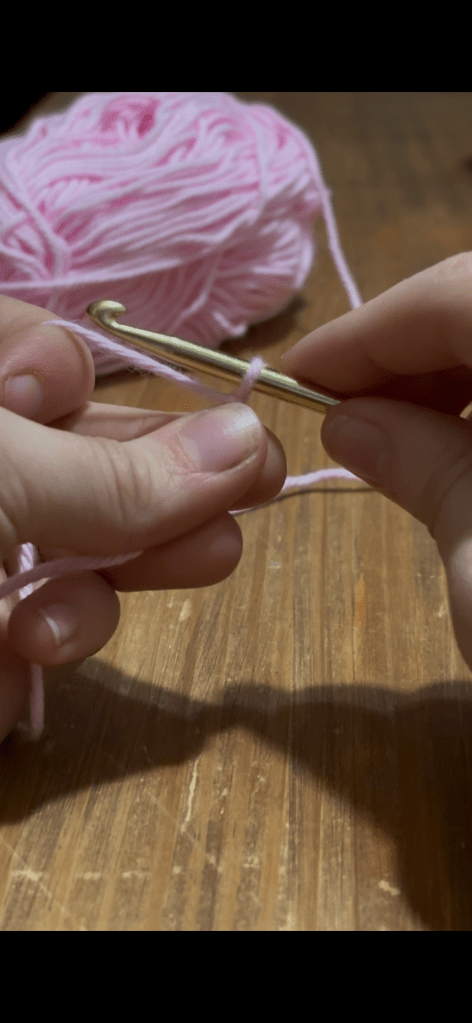
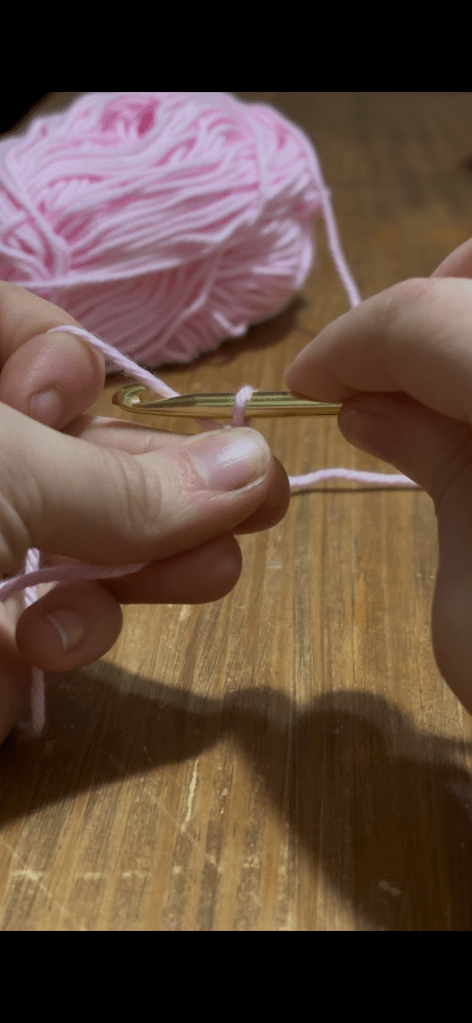
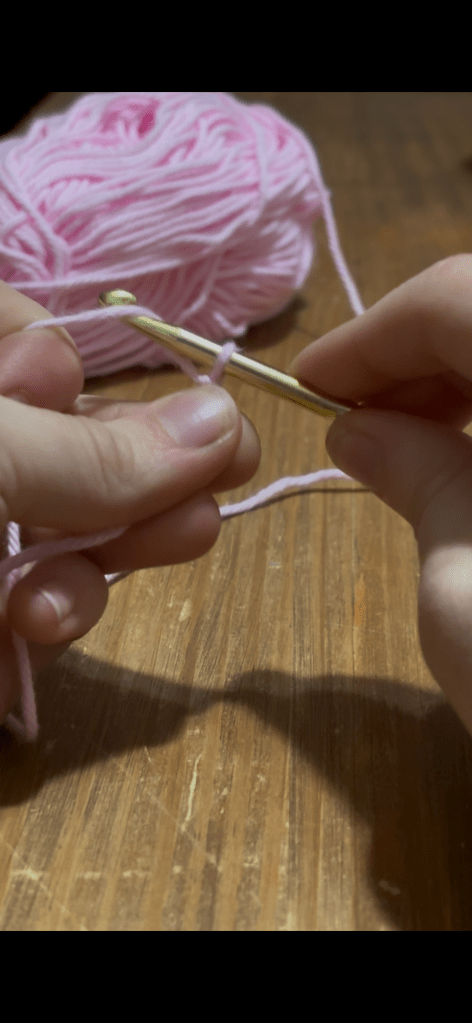
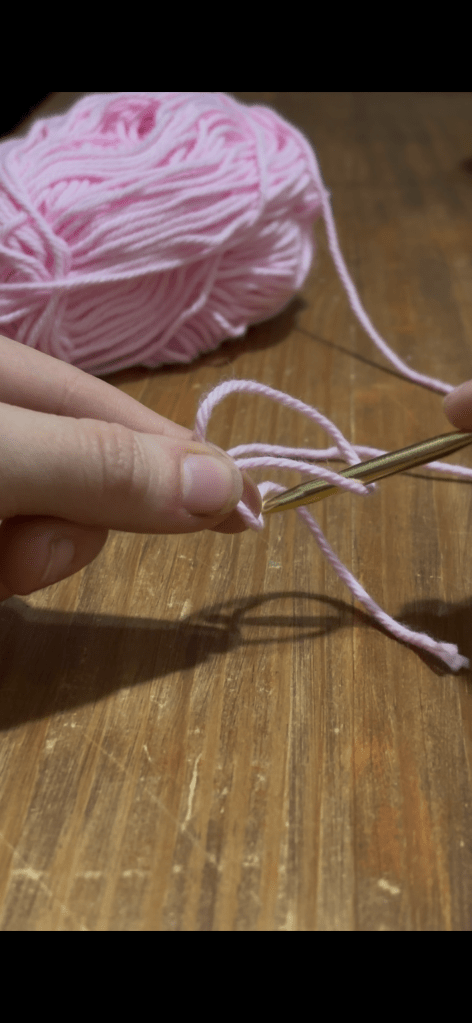
Now you’re going to do what’s called a yarn over: stick the hook under the working yarn and turn the point toward you so you catch the yarn.
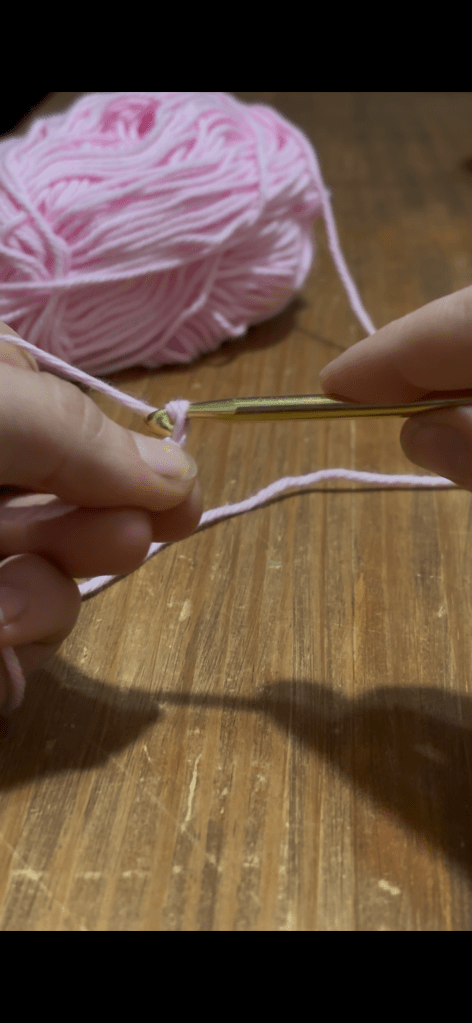
Pull the hook through the loop.
Congratulations, you’ve just completed your first chain stitch!!
Let’s do another!
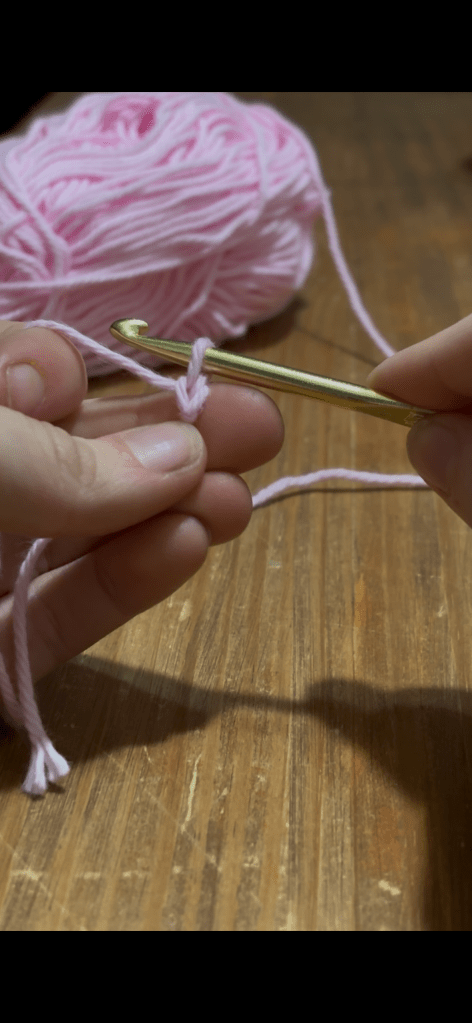
Move your left thumb and middle finger up a little so you’re gripping directly under the chain you just made.
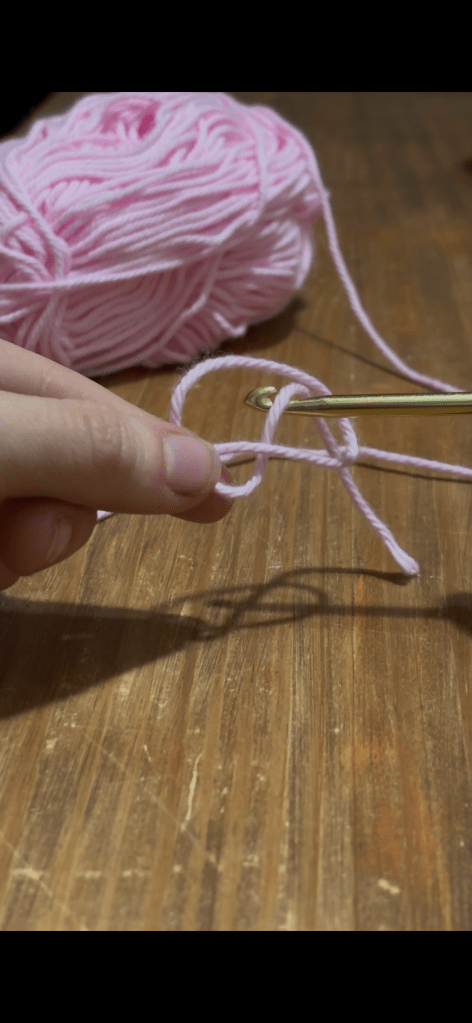
Now yarn over.
Pull the yarn through the loop to make your second chain.

You did it!! Keep making chains until you get more comfortable with the process.
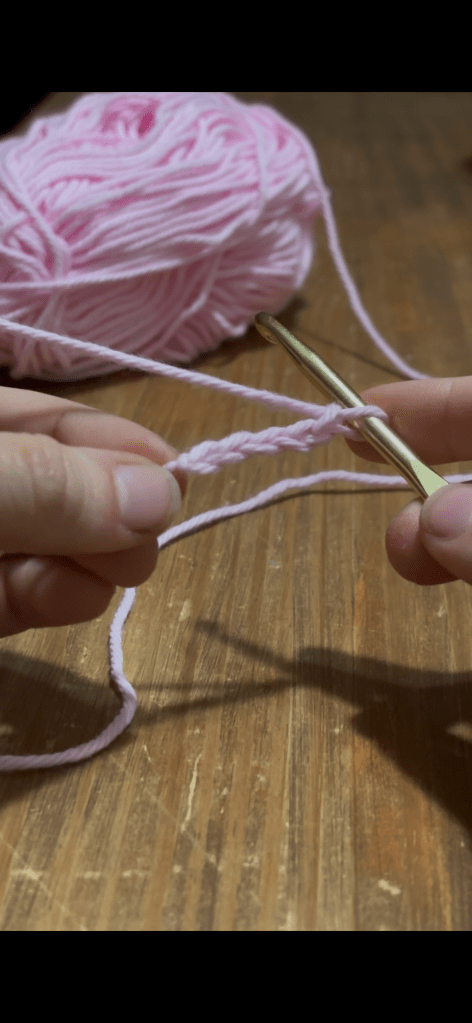
If your chains are a little bumpy or some are smaller while others are bigger, don’t worry! Your stitches will eventually even out once you get your tension down.
That’s all for this first lesson.
Remember, practice makes perfect! Keep practicing holding your yarn and hook and making chains so you’ll be ready to learn the single crochet in lesson 2 next week.
I’d love to see your work, so feel free to share your progress in the comments, or tag me on Instagram @handmade.by.micah . If you have any questions drop them in the comments. I’m always happy to help!
Stay tuned for lesson 2 and happy crocheting!


Leave a reply to How to Crochet for Beginners: Triple Crochet Tutorial – Handmade by Micah Cancel reply