
Hey everyone!
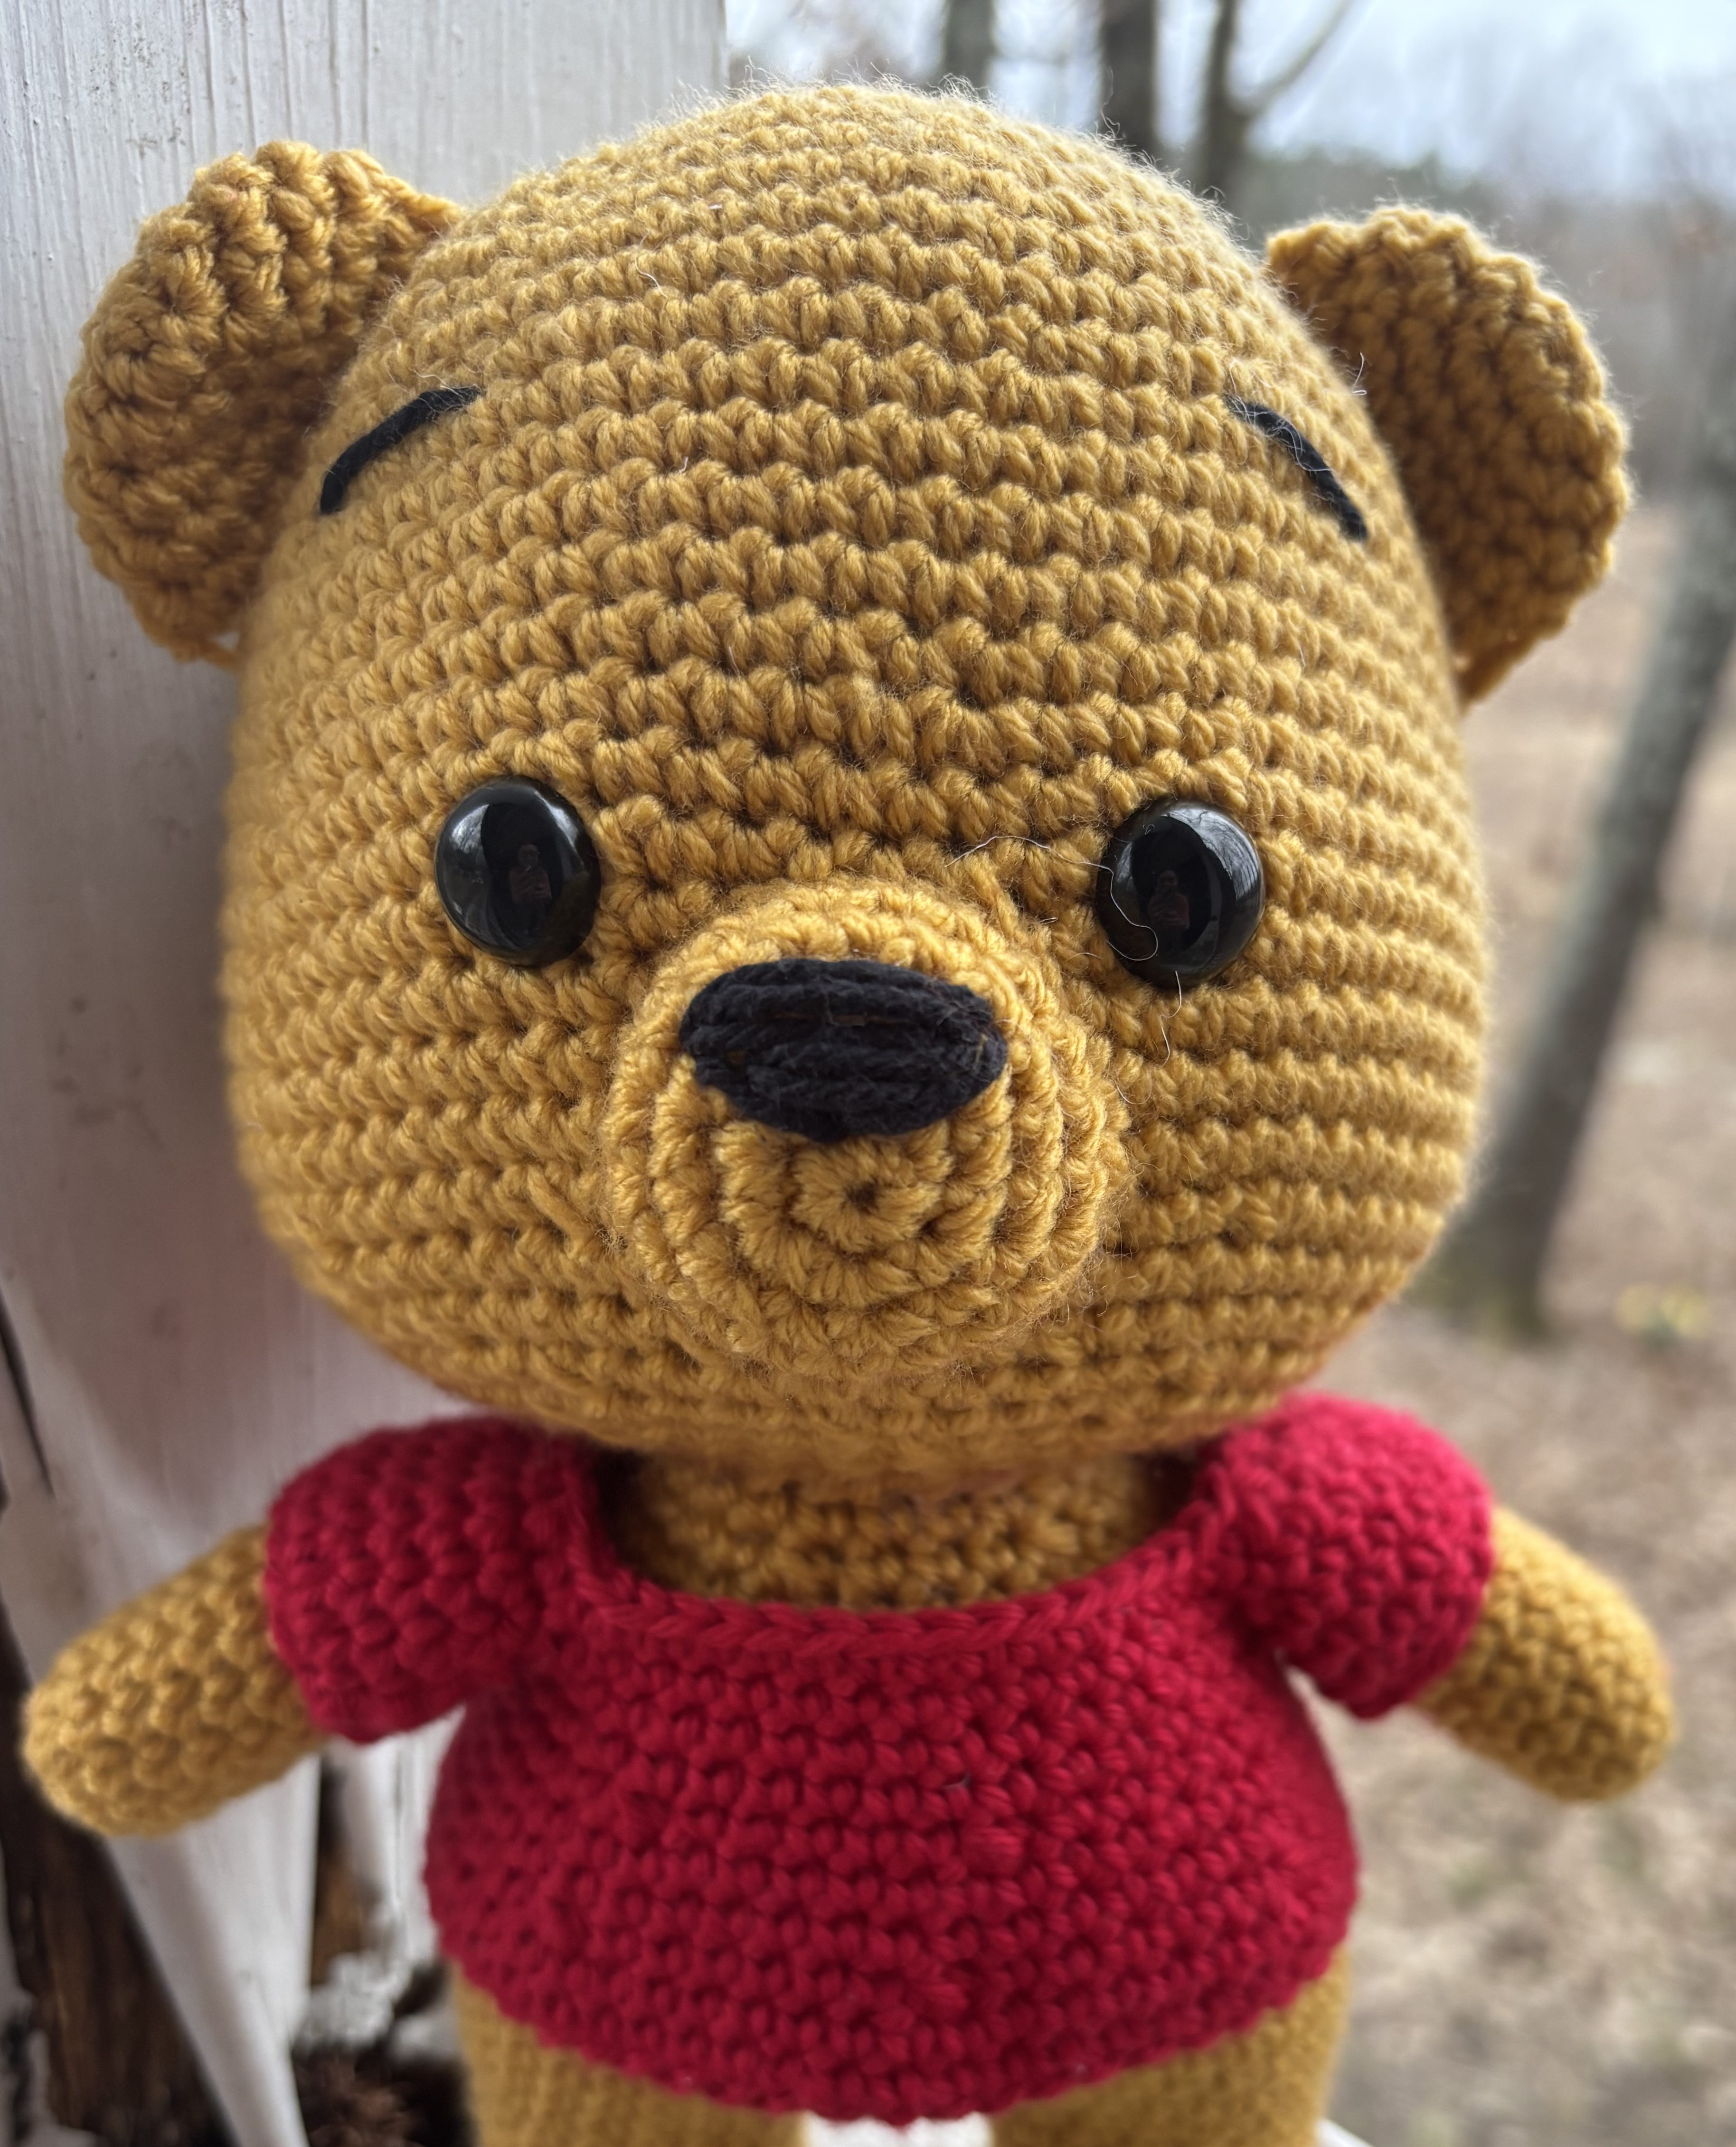
After receiving an order for a stuffed Winnie the Pooh last month and searching high and low for the right pattern, I’m super excited to share this one with you guys. The first pattern I tried out looked promising, but when I had almost gotten to the end I realized that the image of the finished product and the pattern itself was AI generated, which was pretty disappointing since the picture was so adorable!
Then my friend sent me another pattern, this one thankfully a real one–but the challenge didn’t stop there.
This pattern was from YouTube and spanned over seven videos. The catch? The videos were entirely in Spanish!
(He’s also available on my Etsy shop if you’d like to purchase one!)
Otherwise, without further ado, here is the link to the YouTube videos (there are actually a ton of really cute patterns on the channel).
I’ve added the notes I took from the pattern down below as well as the materials I personally used.
This post may contain affiliate links. As an Amazon Associate, I earn from qualifying purchases — at no extra cost to you. I only recommend products I personally use and love!
Materials:
1 skein worsted weight yarn in gold–I used about 200 yards (I just used what I had on hand which was Red Heart Super Saver)
Less than 1 skein worsted weight cotton yarn in red for the shirt–I used about 50 yards (I just used what I had on hand which was Red Heart Super Saver)
Less than 1 skein yarn in black for the face embroidery (I used Lily Sugar N’ Cream because it’s a thinner cotton yarn but you could use whatever you have on hand or even embroidery floss)
Size 15mm safety eyes (I used Hukiwow because I always like to order them in bulk and these are cheapest)
3.5mm hook (I used an ergonomic crochet hook from this Yarniss hook set but you can adjust accordingly to meet the pattern’s gauge)
Polyester stuffing (I used The Original Poly-Fil because it’s always been a decent priced go-to for me but you can use whatever kind you have on hand, it doesn’t really matter!)
Pattern notes:
-Pattern is worked in continuous rounds without joining so you may find it helpful to place a marker in the first stitch of every round.
-Cotton yarn works well because your stitches will work up much tighter and sturdier but you can use any yarn that you wish! I actually used Red Heart Super Saver, which is just a regular worsted weight yarn, for mine.
-Stuff each piece firmly but not too firm. You want each piece to hold its shape, but if you stuff too firmly, the stuffing will show through your stitches.
-You can use a safety nose on the snout or you can embroider one (I embroidered mine), either or!


And you’re finished!! If you have any issues with any of the pieces or their assembly, feel free to refer to my pictures or the YouTube videos I linked earlier.

I hope you enjoyed this pattern!!


Leave a Reply