

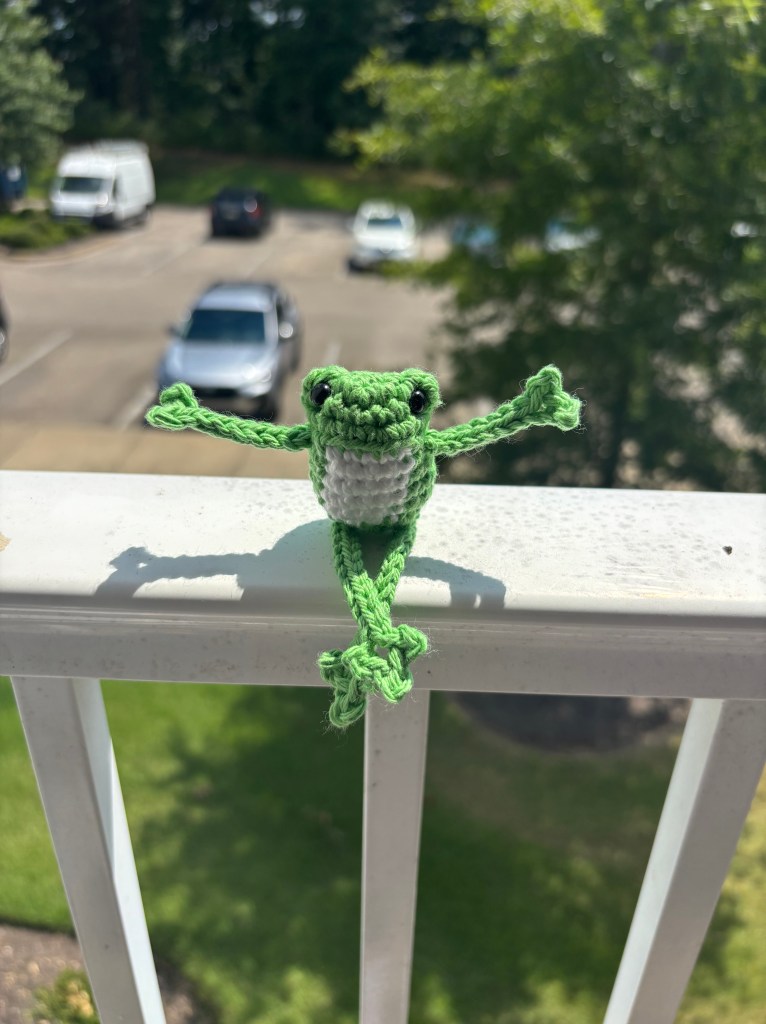
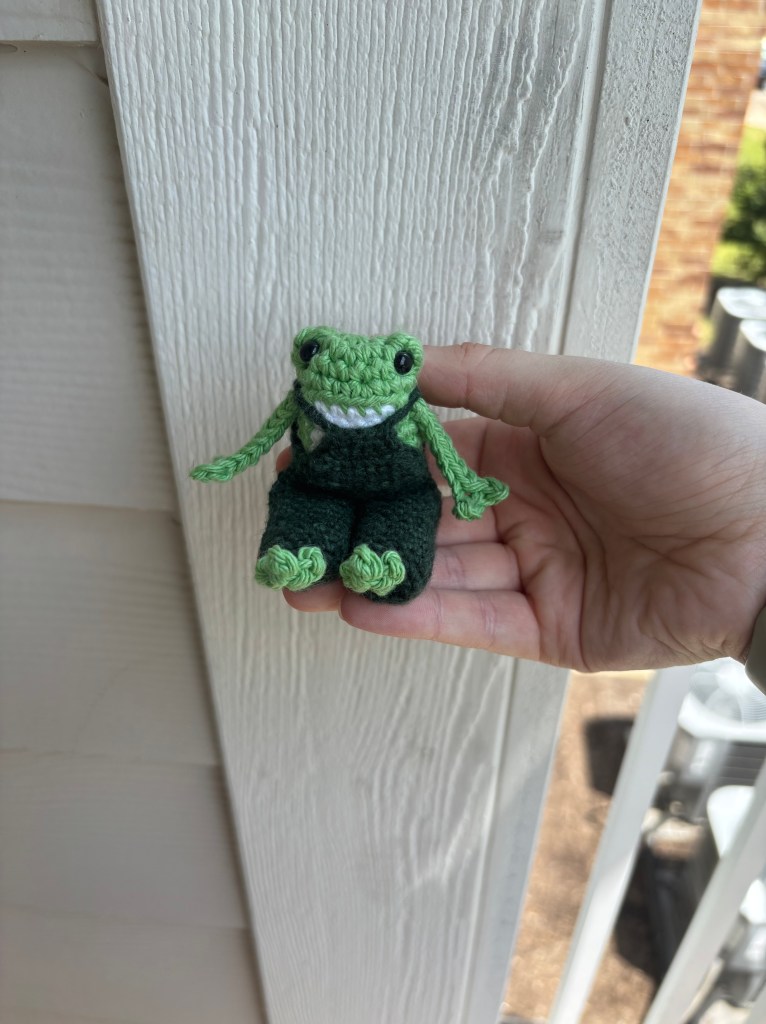
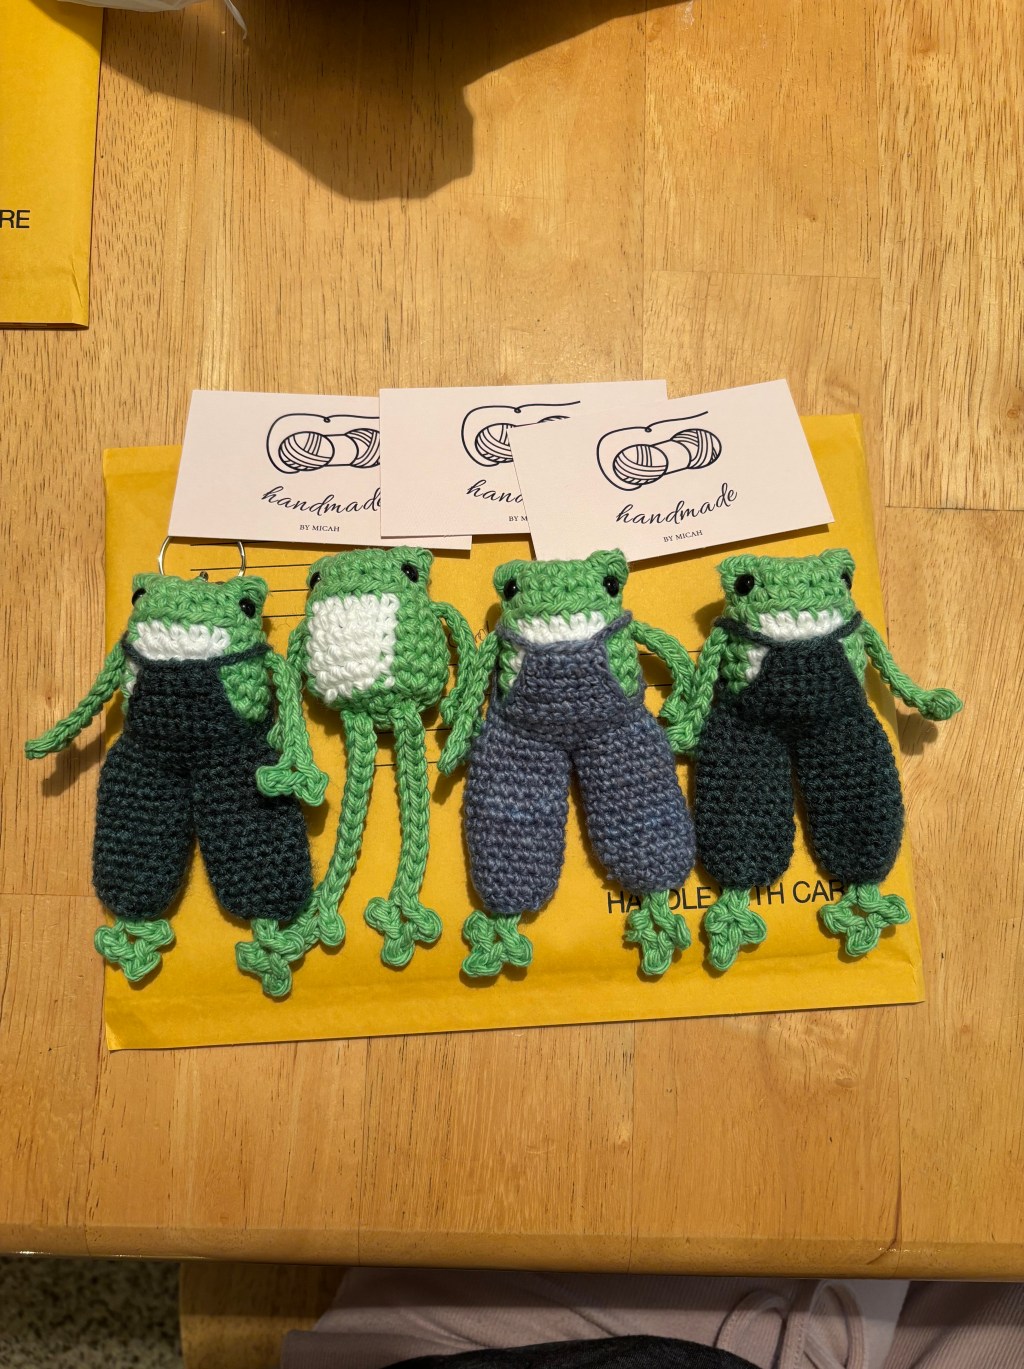
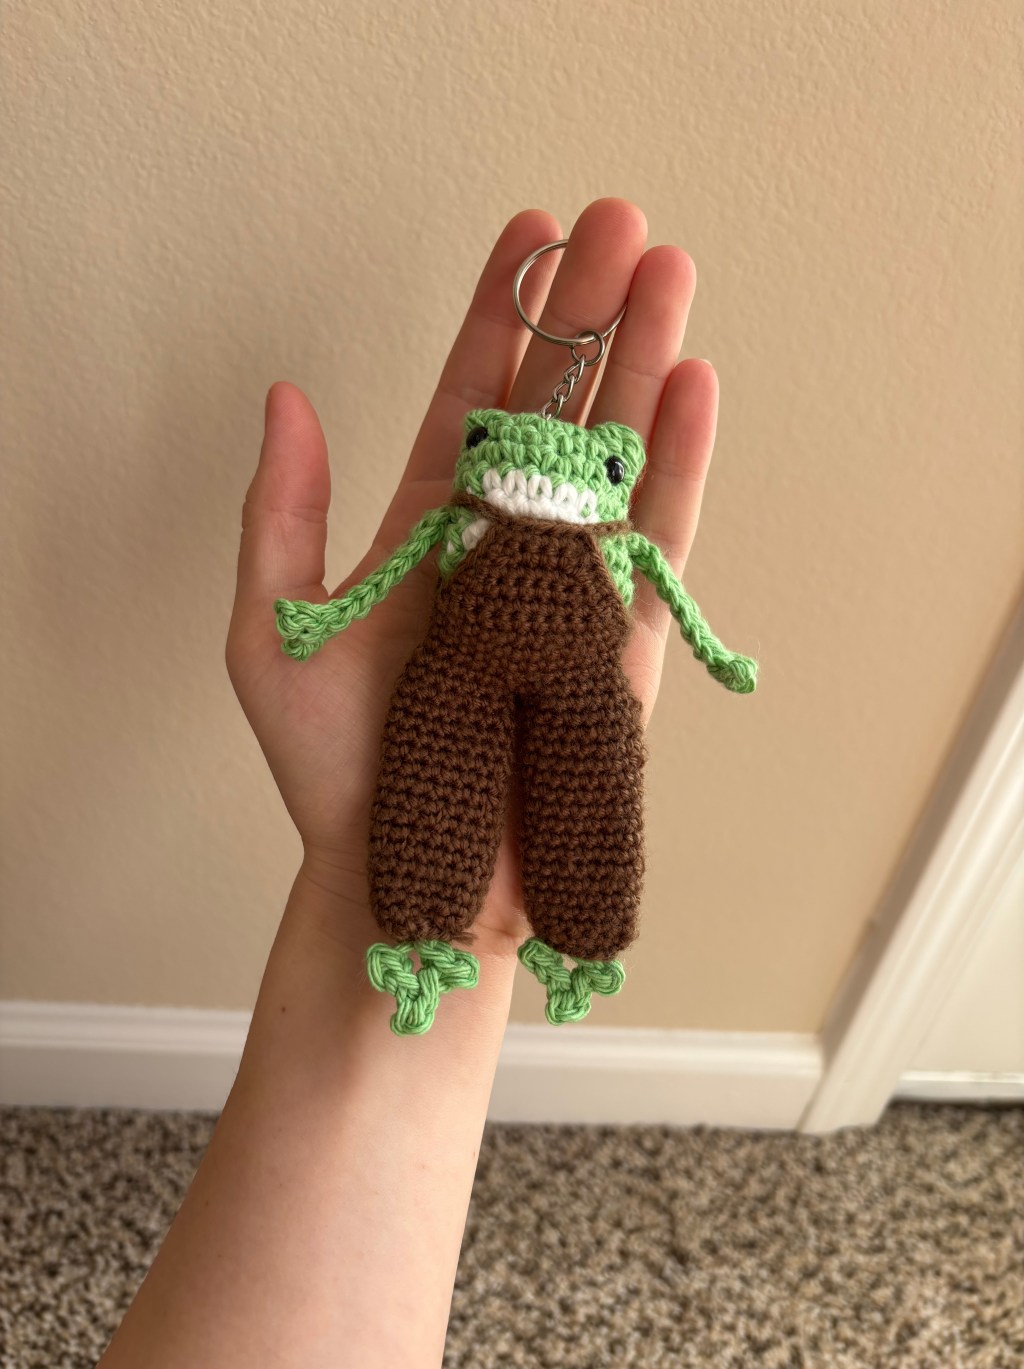
Hey everyone! Today I’m sharing a pattern for this adorable free crochet amigurumi frog as well as his removable overalls.
After spending a lot of time crocheting keychains and brainstorming some new products for my shop these last couple of weeks, I decided that it was time to make some more plushies!! This style of long-legged or “leggy” frog with its simple head and body design and long, dangly arms and legs seems to be pretty popular, so when I saw this pattern I just knew I had to make him. I mean look how adorable he is!

I was going to just make a simple keychain out of this frog at first, but when I got done I felt inspired to design some clothes for him, maybe some overalls or a sweater and eventually an entire wardrobe. So far all I’ve made is the overalls but a sweater and a mushroom hat are definitely in my plan for the near future!! I will add them to this post when I design them.


He’s actually available as a plushie or a keychain in my Etsy shop with more color variations coming soon!! I do take custom color requests for the overalls as well.

The original pattern for the frog can be found for free here (I do not have the rights to it, only the overalls). This pattern is super simple and well-written, perfect for beginners, and it only took me about 30 minutes from start to finish. There are a ton of free quick and easy patterns like this on the pattern writer’s website so be sure to check them out!
I have included my notes for the frog pattern below.
This post may contain affiliate links. As an Amazon Associate, I earn from qualifying purchases — at no extra cost to you.
Pattern notes:
-Pattern is worked in continuous rounds without joining so you may find it helpful to place a marker in the first stitch of every round.
-Cotton yarn works best because your stitches will work up much tighter and sturdier but you can use any yarn that you wish! Be aware if you don’t use cotton yarn your frog’s arms and legs might be a little floppier and not hold shape as well. I used I Love This Cotton yarn.
-I stuffed my frog pretty loosely because I wanted him to be a little squishy but if you want the body to be more firm, stuff him a bit more firmly.
But without further ado, let’s get started on the overalls.

Materials:
Less than 1 skein fine weight yarn in color of your choice–I used maybe 50-75 yards
2.5mm crochet hook
Stitch marker
Yarn needle
Pattern notes:
-Pattern is worked in continuous rounds without joining so you may find it helpful to place a marker in the first stitch of every round.
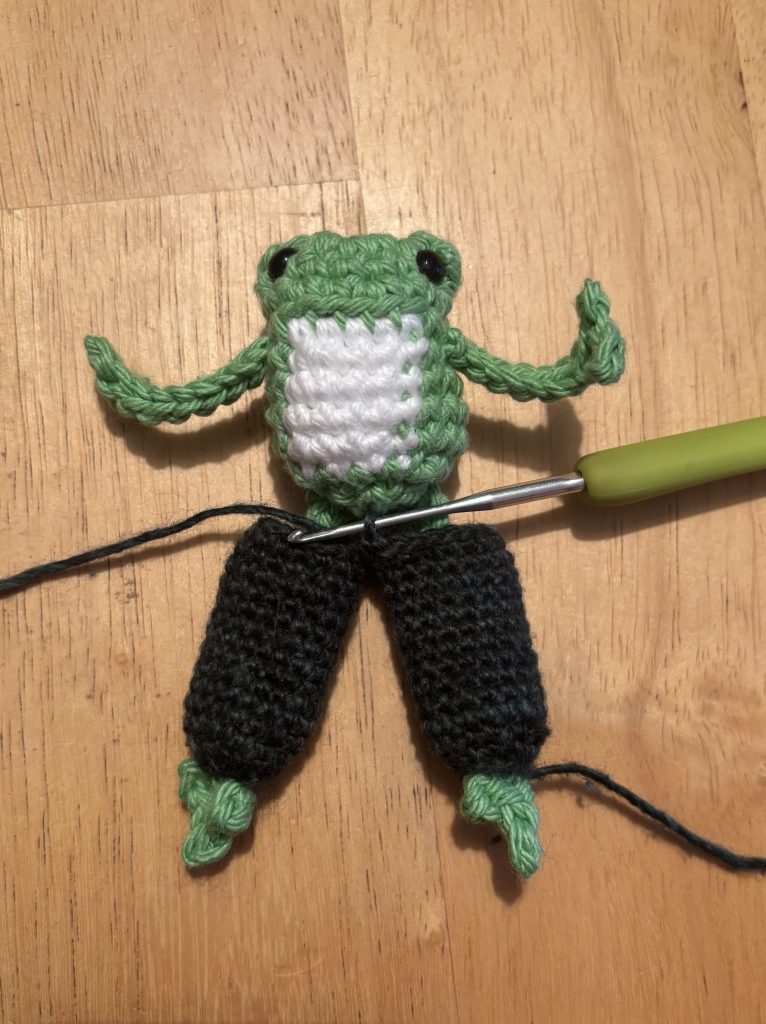
-Pattern is worked from the legs up, starting with one leg then joining both legs together. You will then work the body, move to the front and back bibs, and lastly work the straps.
-I used a wool blend yarn but you can use whatever yarn you like!! I don’t recommend cotton however because you want the overalls to drape and cotton yarn is very stiff.
Special stitches:
Dec 3 (decreasing over 3 st instead of 2): *insert your hook into the next st, yarn over and pull up a loop* and repeat 2 more times until you have a total of 4 loops on your hook, then yarn over and pull through all 4 loops on your hook.
Pattern
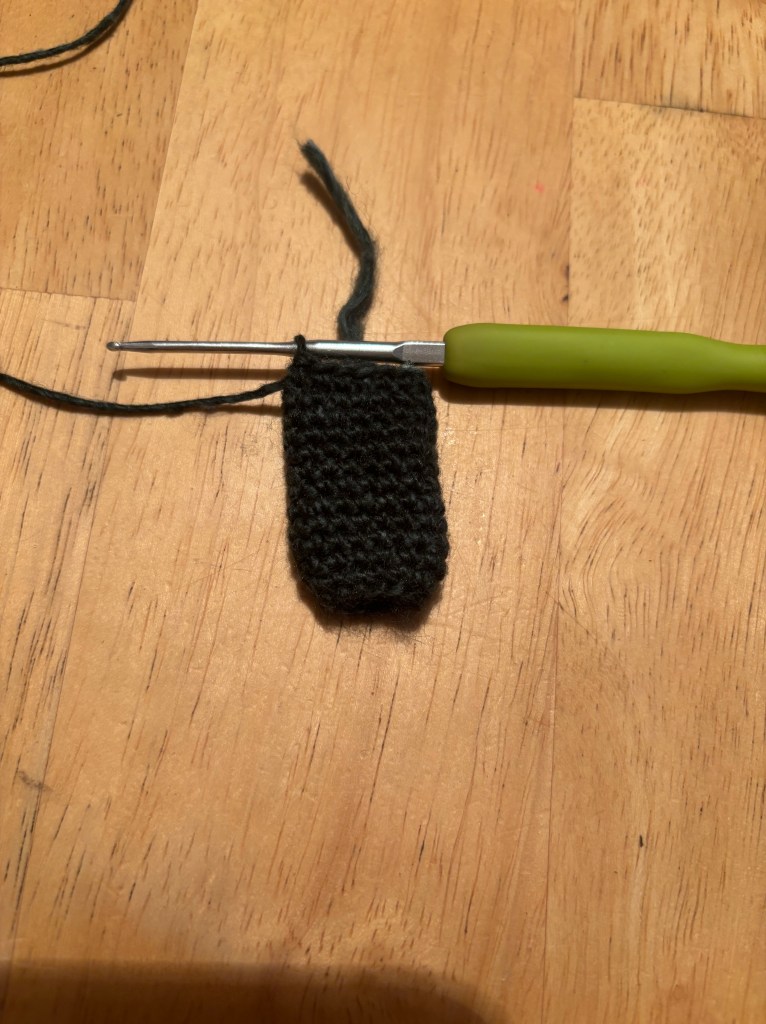
Legs: (make 2)
Ch 12, join to first ch with sl st to make a circle.
Round 1: Ch 1, sc in each st around (12)
Round 2: *3 sc, inc* around (15)
Round 3-12: Sc in each st around (15)
Fasten off first leg.
For second leg continue to round 13.
Round 13: Ch 1, join legs together by making a sc in the st next to where you fastened off on the first leg, 6 sc, dec, 6 sc, sc on the back of the ch you made, 6 sc, dec, 6 sc, sc in the other side of the ch (30)
Round 14: Sc in each st around (30)
Round 15: 6 sc, dec, 5 sc, dec 3 (see special stitches), 5 sc, dec, 7 sc (26)
Round 16: 6 sc, inc, 11 sc, inc, 7 sc (28)
Round 17: Sc in each st around (28)
3 sc and fasten off.
Back bib:
Row 1: Count 9 st to the left from where you fastened off and join with a sc in that st, 12 sc, ch 1 and turn (13)
Row 2: Sc in each st across, ch 1 and turn (13)
Row 3: Dec, 9 sc, dec, ch 1 and turn (11)
Row 3-4: Sc in each st across, ch 1 and turn (11)
Row 5: Dec, 7 sc, dec, ch 1 and turn (9)
Row 6: Dec, 5 sc, dec (7)
Fasten off.
Front bib:
Row 1: Count 3 st from the left of the last st of row 1 of the back bib and join with a sc in that st, 10 sc, ch 1 and turn (11)
Row 2: Sc in each st across, ch 1 and turn (11)
Row 3: Dec, 7 sc, dec, ch 1 and turn (9)
Row 4: Sc in each st across, ch 1 and turn (9)
Row 5: Dec, 5 sc, dec, ch 1 and turn (7)
Row 6: Dec, 3 sc, dec, ch 1 and turn (5)
Row 7: 5 sc, sl st down the side of the front bib and up the side of the back bib until you reach the top corner of the back bib, ch 8 and sl st to the top corner of the front bib directly across from it, 4 sl st along the top of the front bib, sl st down the other side of the front bib and up the other side of the back bib until you reach the other top corner of the back bib, ch 8 and sl st to the other top corner of the front bib.
Fasten off and weave in ends.
And you’re done!!


I hope you enjoyed this pattern! If you have an issue with any of the pieces leave me a comment below and I’ll try my best to help.
As always, tag me on Instagram @handmade.by.micah if you post pictures of your finished project–I love seeing other people’s work!
Happy crocheting 🙂


Leave a comment